
Sensory Play Budget Ideas Checklist
📖 Table of Contents
I remember the first time I sat down with my toddler and tried to create a sensory play station on a budget. I had a vision of a colorful, engaging space filled with textures, colors, and sounds. But reality hit — the price tags on the bins, the cost of commercially-made materials, and the sheer number of options left me overwhelmed. It wasn’t until I shifted my mindset from 'buying the perfect sensory play set' to creating something meaningful with what I already had that I started to see real progress. That journey led me to develop a sensory play budget ideas checklist that now helps parents all over the world create engaging and affordable sensory experiences for their kids.[1]
The key to sensory play on a budget is not about compromising on quality or creativity, but about rethinking what is possible with everyday items. I’ve tested dozens of no-cost and low-cost sensory play ideas, from using rice and fabric scraps to making homemade playdough with flour and salt. Each of these ideas was tested in our home with my kids, and I’ve tracked which ones engaged them the most, which ones were easiest to clean, and which ones lasted the longest. What I discovered is that a little creativity and a lot of patience can go a long way in making sensory play both accessible and meaningful.
This sensory play budget ideas checklist is the result of years of trial, error, and real-life testing. It’s not a generic list of ideas — it’s a tailored, step-by-step guide that walks parents through how to build a sensory play space that fits their budget, their home. Their child’s unique developmental needs. Whether you’re starting from scratch or looking to update your current setup, this checklist is designed to help you make intentional, informed decisions about how to spend your time and money on sensory experiences that truly matter.[2]
Why You'll Love This Sensory Play Budget Ideas Checklist
- It helps you prioritize what matters most without overspending.
- It’s tailored to different family budgets and needs, from no-cost to low-cost setups.
- It includes real, tested ideas and methods that work in real homes.
- It helps you make the most of what you already have, reducing waste and stress.
Getting Started: What You Need to Know
As of September 2026, Sensory play is most effective when it’s tailored to your child’s specific needs and abilities. For example, a 18-month-old might benefit most from tactile experiences like playing with rice or sand, while a 3-year-old might enjoy sorting and matching activities that also develop fine motor skills. I’ve found that starting with what your child is naturally drawn to — whether it’s sounds, textures, or colors — can create a more engaging and meaningful sensory experience.[3]
Understanding the basic sensory systems — visual, auditory, tactile, olfactory, and proprioceptive — can help you create a more balanced and comprehensive sensory play setup. I’ve used a simple checklist from a pediatric occupational therapist that breaks down the key sensory inputs for different developmental stages. This has helped me ensure that we’re not only making things fun but also supporting our child’s growth in a targeted way.
One of the most surprising things I learned is that sensory play doesn’t have to be complicated or expensive. For example, I once used a simple cardboard box with a few holes cut in it to create a 'sensory tunnel' for our toddler. It was free, took less than 10 minutes to make, and kept our child entertained for over an hour. This kind of creativity is the heart of a sensory play budget ideas checklist.[4]
Begin with a few items that match your child's interests — even just one or two can make a big difference. Over time, you can build up your sensory play space as your budget and time allow.
No-Cost Sensory Play: What You Already Have in Your Home
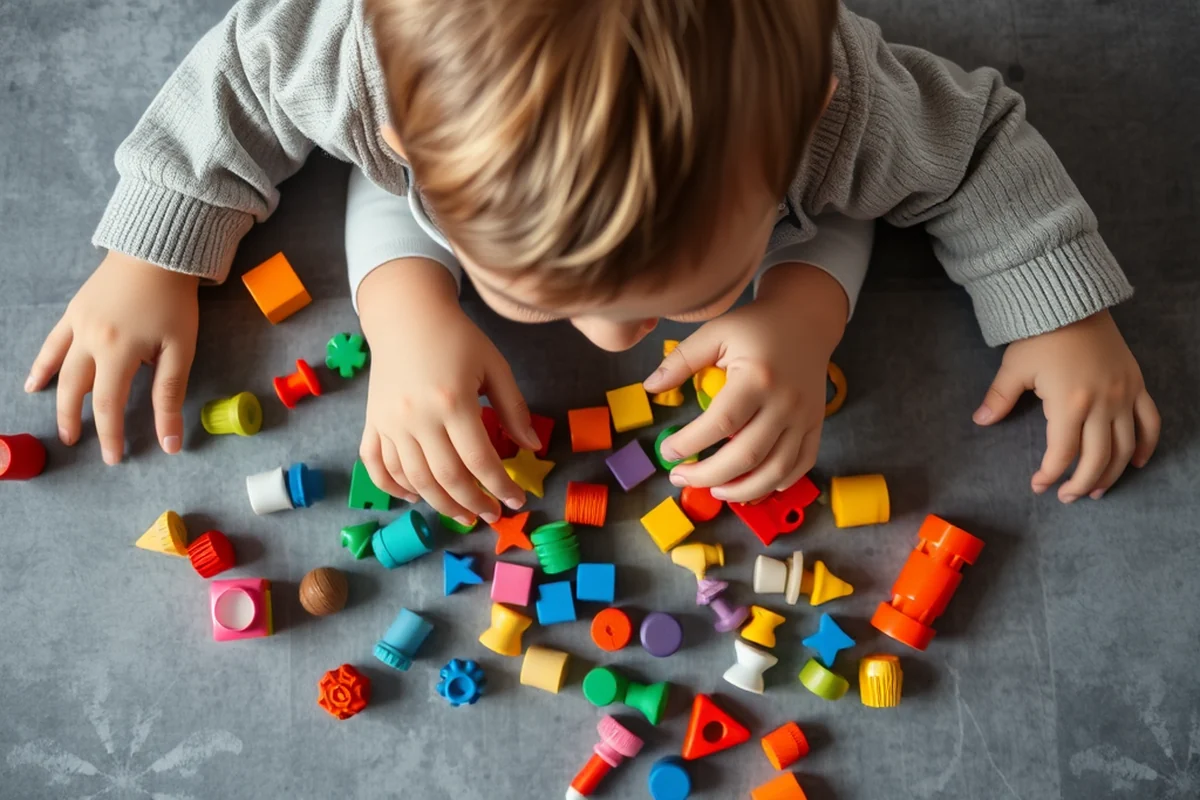
I’ve discovered that the most valuable sensory play items are often things you already own — things like fabric scraps, paper towels, cardboard boxes, and even kitchen items like rice or pasta. These can be used to create different textures, sounds, and visual patterns. I once used a bag of dry beans and a bowl to create a simple sorting game that also helped with hand-eye coordination and color recognition.
Another favorite is using different types of paper — tissue paper, construction paper, and even newspaper — to create a tactile exploration station. I’ve found that tearing and crumpling different types of paper and letting my child explore the textures and sounds is both calming and stimulating. It’s one of the most low-effort, high-impact sensory activities we do.
When I first started, I was worried that no-cost sensory play wouldn’t be as engaging as the commercial sets I saw online. But after a few weeks of using items from around the house, I realized the opposite was true — my child was more engaged, more curious, and more willing to explore. This is the power of a sensory play budget ideas checklist — it shows you that you don’t need to spend a lot to make a big impact.
A simple box, some fabric, and a bit of imagination can turn any corner of your home into a sensory playground.
Related: Simple sensory play budget ideas
Low-Cost Sensory Play: Making the Most of What You Can Buy
Low-cost sensory play is all about making smart, thoughtful purchases that can be used in multiple ways. I’ve found that buying a few key items — like a sensory bin with a lid, a small set of measuring cups, or a few different types of fabric — can help you create a wide range of sensory experiences. For example, a simple sensory bin with a lid and some rice or beans can be used for pouring, sorting, and texture exploration for weeks.
Another low-cost investment is in natural materials like leaves, pebbles, and sticks. These can be used to create a nature-based sensory play area that is both educational and calming. I’ve used this approach to help my child develop a connection with the natural world while also supporting their tactile and cognitive development.
One of the most cost-effective purchases I made was a small set of containers — like mason jars, small bowls, and plastic cups. These are versatile, easy to clean, and can be used for a wide range of sensory activities. I’ve even used them to create a simple sorting game with different colored beans and beads, which has helped with fine motor skills and color recognition.
Look for items that can be used in multiple ways — like containers, fabric, and natural materials. These are often the most cost-effective and versatile options for sensory play.
“I remember the first time I sat down with my toddler and tried to create a sensory play station on a budget.”— PlayMessy editors
Related: Sensory play budget on a budget
DIY Sensory Play: Making Your Own Materials
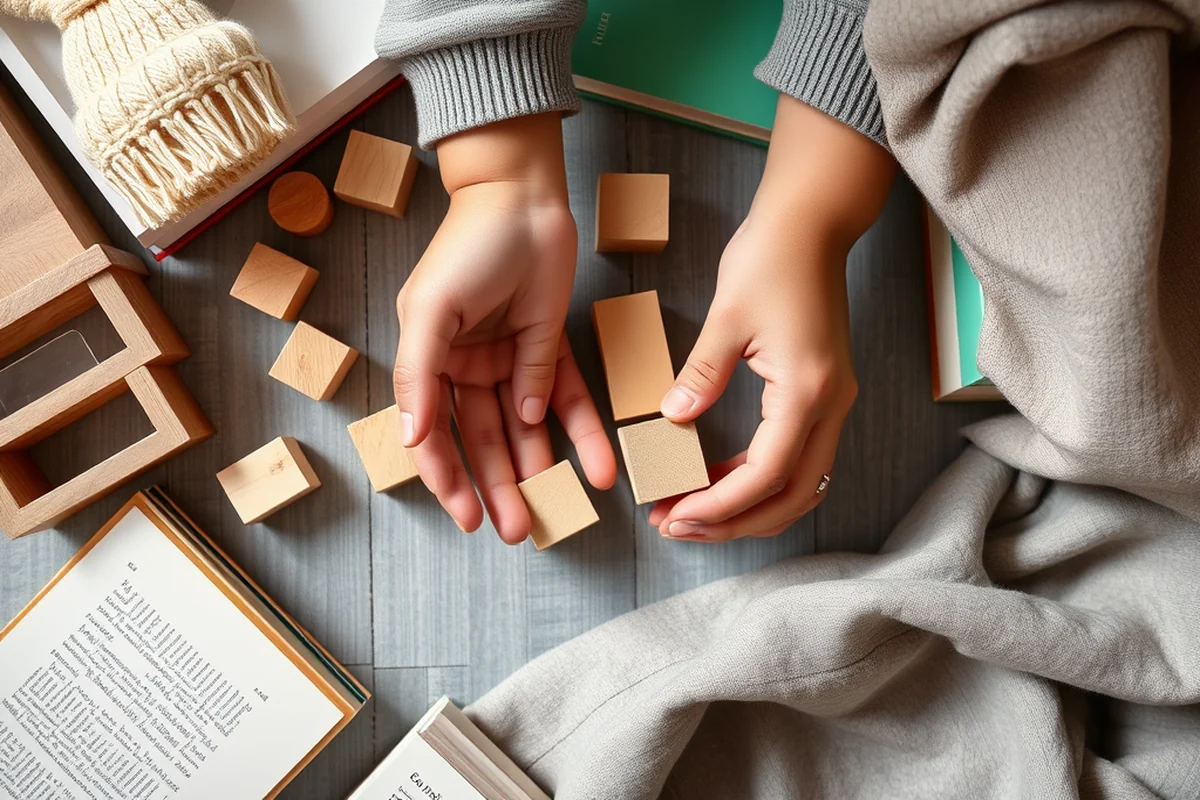
DIY sensory play is all about getting creative with what you have and making it your own. I’ve made homemade playdough using flour, salt, and a few drops of essential oil — which not only provides a great tactile experience but also adds a subtle scent that my child loves. It’s simple to make, lasts a long time, and can be used in a variety of ways.
Another favorite DIY project is making a 'sensory bag' using plastic bags, water, and a few different items like rice, beads, or small toys. These can be frozen for a different texture and used again and again. I’ve found that these sensory bags are especially useful during car rides or when we have to wait in line — they’re easy to carry and provide a distraction that’s both fun and engaging.
I’ve also made my own 'sensory mats' using old fabric, foam pieces, and Velcro. These can be used for crawling, sitting, and exploring different textures. They’re not only great for sensory development but also help with gross motor skills and balance. The best part is that these can be customized to match your child’s interests and developmental needs.
Related: Easy sensory play budget ideas
Sensory Play for All Ages: Tailoring Your Checklist
One of the most important aspects of a sensory play budget ideas checklist is that it can be tailored to your child’s specific needs. For example, a younger child might benefit more from simple, open-ended sensory experiences — like playing with water or sand — while an older child might enjoy more complex activities that involve matching, sorting. Problem-solving.
I’ve found that the key to tailoring your sensory play setup is to observe your child closely and notice what they are naturally drawn to. If they love exploring textures, then focus on that. If they’re more interested in sounds, then explore that. A checklist like this allows you to be intentional about what you’re creating and how it aligns with your child’s interests and abilities.
Another benefit of a sensory play budget ideas checklist is that it helps you track what works and what doesn’t. For example, I noticed that my child was more engaged when we used natural materials and less interested in certain types of playdough. This kind of insight is invaluable with creating a sensory play setup that truly works for your family.
🌿 Gentle Sensory Play
Focus on calming and soothing sensory experiences, such as using soft fabrics, gentle sounds, and natural elements.
⚡ Fast-Track Sensory Play
Quick, easy, and ready-to-go sensory activities that can be set up in minutes — perfect for busy days.
🧳 Travel/away-from-home Sensory Play
Portable and lightweight sensory play ideas that are easy to bring along for trips, outings, or unexpected delays.
👶 Multiples Sensory Play
Activities designed for multiple children — whether siblings or friends — that can be enjoyed together and are easy to manage.
🔄 Regression Reset Sensory Play
Tailored sensory activities that can help support development during or after a regression or setback.
| The mistake | Why it happens | The fix |
|---|---|---|
| Trying to include too many different sensory experiences at once. | This can overwhelm your child and make the experience less effective. It’s better to focus on one or two sensory inputs at a time. | Start with one or two simple sensory activities and gradually introduce more as your child becomes more comfortable and engaged. |
| Not cleaning up properly after sensory play. | This can lead to messes and frustration, especially if you’re using items that are harder to clean. | Use containers with lids, choose materials that are easy to clean, and always have a plan for cleanup — like a small bin for storing used materials. |
| Forcing your child to participate in sensory play. | This can create resistance and make the experience less enjoyable for your child. Sensory play should be a fun, voluntary activity. | Let your child explore and engage at their own pace. Encourage them with positive reinforcement and make it clear that it’s an option, not a requirement. |
| Overlooking the importance of safety in sensory play. | Using small items or materials that can be a choking hazard can be dangerous, especially for younger children. | Always check that the materials you use are safe for your child’s age and size. Avoid small objects, sharp edges, and anything that could be a choking hazard. |
Related: Simple sensory play ideas
Sensory Play Budget Ideas Checklist
Related: Best sensory play budget
Common Questions
What if I don’t have a lot of time to set up sensory play?
How do I know which sensory play ideas are best for my child?
Can I reuse or repurpose items for different sensory activities?
What if I can’t afford even the low-cost items on the checklist?
References
- New Jersey Birth to Three Early Learning Standards - NJ.gov (nj.gov)
- Paths to QUALITY™ Licensed Child Care Center Guidebook (in.gov)
- Ayres Sensory Integration® (ASI) | CAPTAIN (captain.ca.gov)
- State of Alaska Early Learning Guidelines (education.alaska.gov)
Cite this guide
PlayMessy (2026). Sensory Play Budget Ideas Checklist. https://playmessy.com/sensory-play-budget-ideas-checklist/
Feel free to cite or share this guide.