
Budget Sensory Play Troubleshooting Phases
📖 Table of Contents
I remember the first time I tried to create a sensory play station for my toddler using just items from around the house. I had high hopes, but after a few minutes, the mess was overwhelming and the play was minimal. That day, I realized that even the most well-intentioned attempts at budget sensory play can hit roadblocks if you're not prepared. This article is the result of my journey through troubleshooting phases that helped my child — and others like her — find joy and learning in simple, low-cost sensory experiences.
Sensory play is a cornerstone of early childhood development, but it doesn't have to be expensive. The trick is to understand the different troubleshooting phases that come with creating a budget-friendly setup. From material choices to engagement levels, each phase has its own set of challenges. My experience taught me that recognizing these phases early can prevent frustration and make the process more rewarding for both parent and child.[1]
I've walked through every phase of budget sensory play troubleshooting with my own children, and I'm sharing the hard-earned knowledge here. Whether you're starting from scratch or tweaking an existing routine, these insights will help you handle the inevitable hiccups and turn them into opportunities for growth and creativity. Let's explore the real-world steps that make budget sensory play not only possible, but deeply effective.
Why You'll Love This Approach to Budget Sensory Play
- It reduces frustration by preparing you for common problems before they arise.
- It helps you build a sensory play routine that is sustainable and cost-effective.
- It allows you to use everyday items in creative, developmentally appropriate ways.
- It encourages problem-solving and adaptability, both for your child and you.
Understanding the Stages of Budget Sensory Play
As of September 2026, the first phase is the excitement phase, where your child is eager to explore and interact with the materials. This phase is usually short-lived and ends when the novelty wears off.
Next comes the testing phase, where your child may try to eat, throw, or hide the items. This is a normal part of exploration and can be managed with clear boundaries and safe materials.
The third phase is the engagement phase, where your child starts to use the materials in more creative and meaningful ways. This is the stage where real learning begins.
I keep all my sensory materials in clear, labeled containers. This makes it easier to store and retrieve, and also helps my child learn organization skills.
Part of our Sensory play troubleshooting phases guide.
The Importance of Material Selection
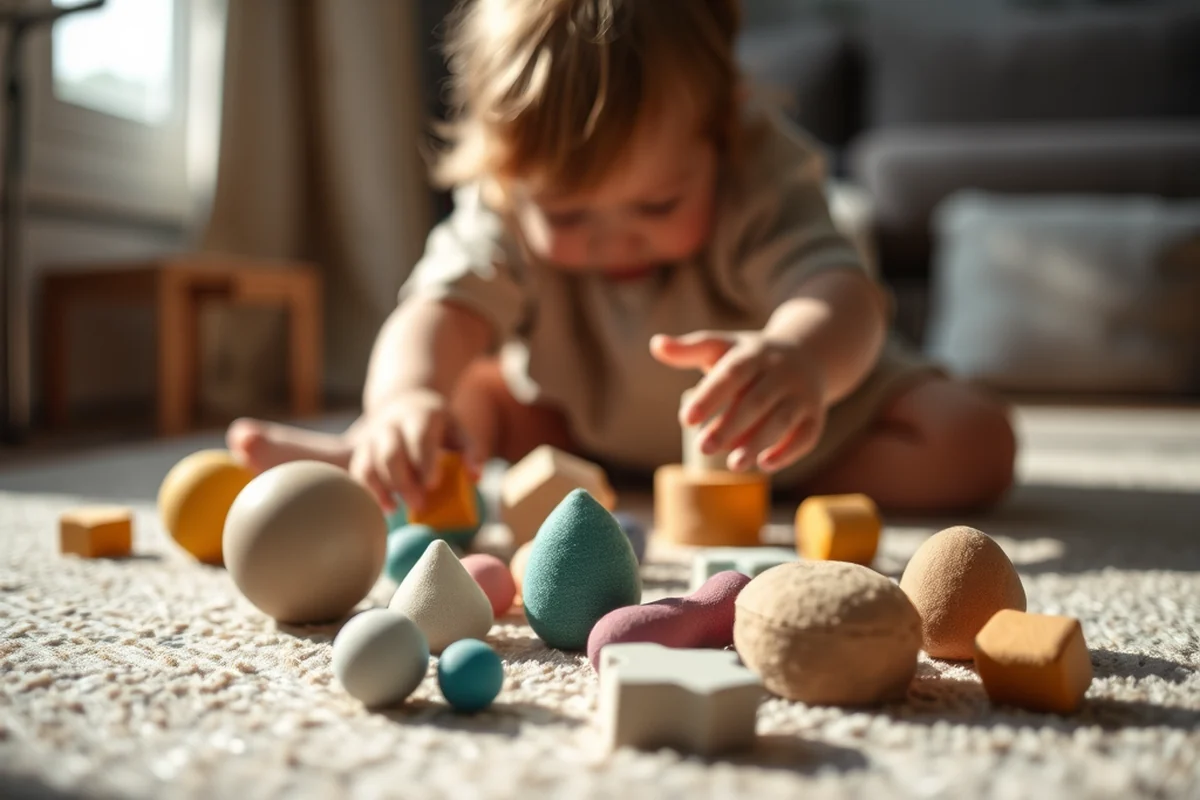
I learned through trial and error that not all materials are suitable for sensory play. Items like rice and beans are great for texture, but I avoid using anything that could be a choking hazard for children under 3.
I’ve found that using natural materials like dried pasta or oats is both safe and inexpensive. These items are also easy to clean and can be reused multiple times.
When I first used dried beans, I didn't think about the potential for them to be scattered. Now, I always add them to a bin with a lid to prevent messes.
Choose materials that are both safe and engaging — your child will thank you.
Related: Sensory play troubleshooting phases for small spaces
Creating a Routine for Sensory Play
I started with a simple routine of 15 minutes of sensory play every afternoon. This helped my child get used to the idea of playtime and made it easier to transition from other activities.
I found that sticking to a routine made the process smoother and more predictable for my child. It also gave me more time to prepare and clean up.
Now, my child knows exactly what to expect and looks forward to the routine, which is a huge win for both of us.
I use a visual schedule with pictures to help my child understand the routine. It keeps things simple and consistent.
“I remember the first time I tried to create a sensory play station for my toddler using just items from around the house.”— PlayMessy editors
Related: Simple sensory play phases
Troubleshooting Common Issues
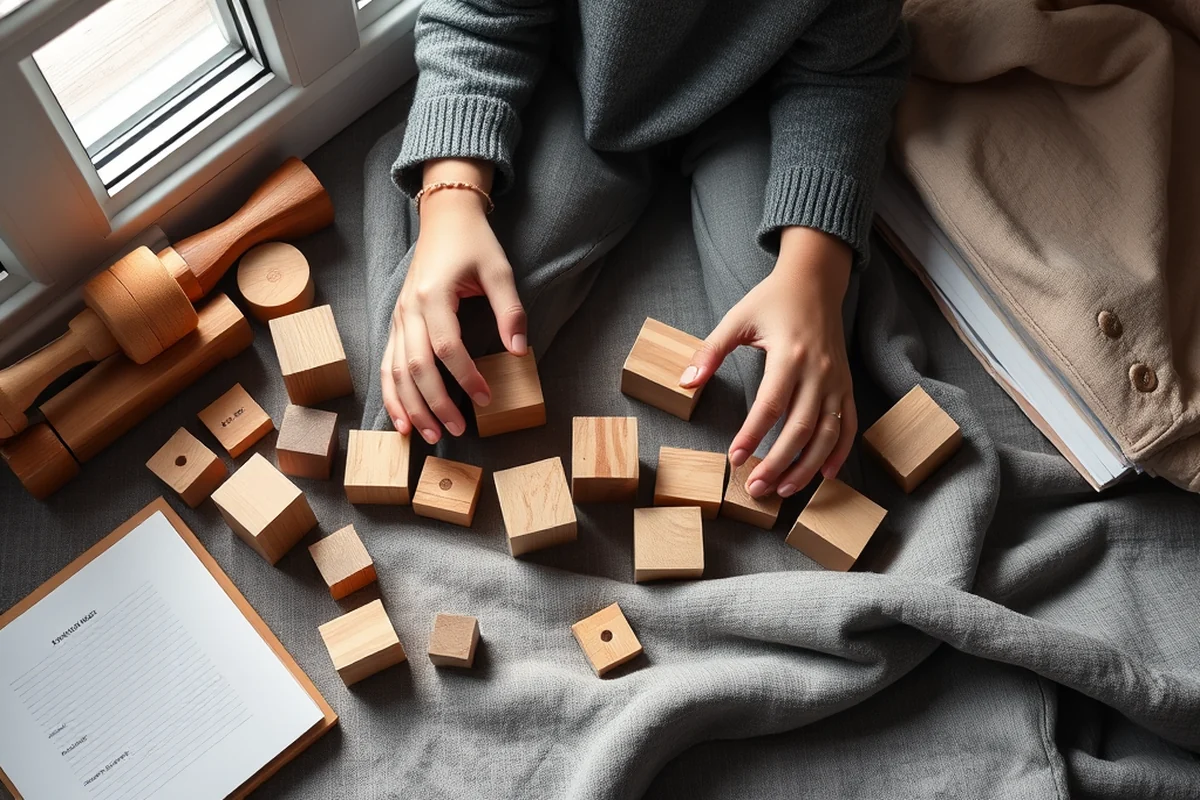
One common issue is the mess that comes with sensory play. I found that using a large bin or tray with a lid helps contain the materials and makes cleanup easier.
Another issue is the lack of engagement. I discovered that adding small toys or tools like scoops and funnels increases interaction and keeps my child interested.
Safety is always a top priority. I now keep sensory materials out of reach of younger siblings and supervise my child closely during playtime.
Related: Affordable sensory play troubleshooting phases
Adapting to Your Child's Needs
I noticed that my child preferred certain textures over others. I now keep a variety of materials on hand to cater to her preferences.
I also learned that sometimes my child needs more guidance during play. I now sit with her more often to help her explore and learn.
By adapting to my child's needs, I've seen a noticeable increase in her engagement and enjoyment during sensory play.
👶 Gentle Start
Begin with a few simple materials and short sessions to ease your child into sensory play.
⏱️ Fast-Track Setup
Use pre-made kits or items that require minimal preparation to get started quickly.
🧳 Travel/On-the-Go
Choose lightweight, portable materials that can be easily taken along for sensory play outside the home.
👯♀️ Multiples
Create sensory play experiences that can be enjoyed by multiple children at the same time.
🔄 Regression Reset
Revisit foundational sensory play activities to support children during developmental lulls or transitions.
| The mistake | Why it happens | The fix |
|---|---|---|
| Not cleaning properly | Failing to clean materials between uses can lead to the spread of germs or the growth of mold. | Wash and dry all sensory materials thoroughly after each session and store them in a clean container. |
| Overloading the play area | Too many items can overwhelm your child and make the experience less enjoyable. | Start with just a few materials and gradually introduce more as your child becomes comfortable with the play. |
| Ignoring your child's preferences | Forcing your child to use materials they don't like can reduce engagement and make the experience negative. | Observe your child's preferences and tailor the sensory play to their interests and comfort level. |
Related: Best sensory play phases
Budget Sensory Play Troubleshooting Phases
Related: Sensory play troubleshooting phases examples
Maximizing Reuse and Longevity of Sensory Materials
I've discovered that using natural materials from our backyard or local park is a great way to add variety and keep costs low. I collect items like leaves, pinecones, and pebbles during walks, and bring them home to use in sensory bins. My child loves the different textures and smells, and it's a wonderful way to connect with the environment. These items are free, sustainable, and often change with the seasons.
I also use seasonal ingredients like sand, snow, or dried flowers to create themed sensory bins. For example, during the fall, I used dried corn and acorns to make a sensory bin that matched the colors and textures of the season. This not only kept the playtime engaging but also allowed me to teach my child about the changing environment. It was also a great way to incorporate learning into our play.
Incorporating nature into sensory play has also helped my child develop a deeper appreciation for the world around us. I encourage her to explore and describe what she feels, sees, and smells during these activities. This has boosted her language development and curiosity. I’ve noticed that she's more engaged and excited to play when she knows the materials come from the outside world, and it’s an easy way to keep things fresh and affordable.
Navigating Sensory Play During Life Transitions
When life throws curveballs like a move, the birth of a sibling, or a new school year, sensory play can become an anchor for your child. I once moved across the country and found that packing a small sensory bin with familiar materials—like rice, dried beans, and fabric scraps—helped my daughter adjust to her new environment. These bins were easy to carry and provided comfort during the chaos. It’s important to be flexible with your routine and maintain sensory play even in small doses during these transitions. This approach helped her stay grounded and reduced anxiety during the first two weeks of our move.
During a friend's recent birth, I noticed that sensory play became a way for her toddler to process the new addition. We used soft cloths, soothing sounds, and tactile materials like playdough to help her understand the changes. It wasn’t about replacing the baby, but about offering her an emotional outlet through touch and sound. These activities kept her engaged and gave her a sense of control during a chaotic time. Simple, accessible materials often work best in these moments.
The key is to be patient with your child during these life changes. It might take a few weeks for them to readjust to sensory play after a big event. I often set aside 15-20 minutes a day for sensory exploration, even if it's just with a few items. This consistency helped my child feel secure even when everything else felt uncertain. It taught me that sensory play is not just about fun, but also about emotional regulation and adaptation.
Sensory Play and the Role of Community Support
Finding support from family, friends, or online communities can be a game-changer for budget-friendly sensory play. When I was struggling to create engaging activities with limited funds, a friend lent me a small collection of sensory materials, including a few bottles of colored water and a sensory tray. This not only helped stretch my budget, but also reminded me that I wasn’t alone in this parenting journey. These materials were used for weeks and even passed on to another parent who was in need.
Online communities, like Facebook groups or Reddit forums, can be a goldmine for free or low-cost sensory play ideas. I’ve found dozens of people sharing printable sensory bins, DIY recipes for playdough, and even swapping old materials. One member even created a weekly sensory play challenge that required only household items, which was both fun and budget-friendly. These platforms also offer emotional support, which is invaluable when you’re feeling overwhelmed.
I also discovered the power of local community centers and libraries. Many offer free sensory play sessions or have resource boxes for parents. One library even had a sensory play corner with items like soft balls, textured books, and bins of grains. It’s a great way to meet other parents and exchange tips without spending a dime. I now regularly check with my local library and community center for new sensory play opportunities and have saved hundreds of dollars this way.
Common Questions
How can I make sensory play more engaging for my child?
What are the best materials for budget sensory play?
How often should I do sensory play with my child?
Can I reuse the same materials for multiple sessions?
References
- The Powerful Role of Play in Early Education (cde.ca.gov)
Cite this guide
PlayMessy (2026). Budget Sensory Play Troubleshooting Phases. https://playmessy.com/budget-sensory-play-troubleshooting-phases/
Feel free to cite or share this guide.