
Quick Sensory Play Printables Checklists
📖 Table of Contents
I remember the first time I handed my 2-year-old a printable sensory board — her eyes lit up like fireflies in a summer night. It wasn’t just the colors or the textures, but the way she suddenly had something tangible to focus on when she was overwhelmed. That was the moment I realized sensory play wasn’t a luxury — it was a lifeline. Quick sensory play printables checklists became my go-to solution for busy days, messy moments, and the never-ending cycle of toddler chaos.[1]
These checklists aren’t just about saving time or reducing clutter. They’re about giving kids the tools they need to explore, express, and regulate their emotions in a world that’s often too loud, too fast, and too overwhelming. I’ve tested dozens of options over the past two years. The ones that stick are the ones that are easy to print, quick to set up, and adaptable to what my daughter is actually interested in at the moment.[2]
The best part is that these checklists are more than just a list of activities — they’re a roadmap for calm, creativity, and connection. Whether we’re playing in the morning or winding down before bed, having a clear guide helps me stay focused on what matters most: being present with my child and letting her explore the world in her own way.[3]
Why You'll Love This Quick Sensory Play Checklist
- Easy to print and store for on-the-go play
- Includes a mix of tactile, visual, and auditory activities
- Perfect for kids with sensory processing challenges or developmental delays
- Helps reduce screen time while keeping kids entertained
What Makes a Good Sensory Play Printable?
As of September 2026, I’ve tried everything from simple dot-to-dot prints to complex 3D printable puzzles, and the ones that work best are the ones that are low-prep and high-impact. My favorite checklist includes tactile activities like texture matching and visual ones like shape sorting, which can be done with just a printer and a few items from around the house.
What I’ve found is that the best printables are the ones that let kids explore without frustration. If a printable is too complicated or requires too many steps, it’s not going to be used. Simplicity is key, especially with younger kids who are still learning how to hold a pencil or use scissors.
I also look for printables that can be reused or adapted. For example, a printable with a raised texture can be used for both visual and tactile play. I’ve found that laminating them makes them last longer, which is especially helpful if we’re using them multiple times a day.
Laminate your printables to make them reusable and waterproof. This is especially helpful if you’re using them with messy sensory materials like playdough or rice.
Part of our Sensory play printables checklists guide.
How to Use the Checklist for Daily Play
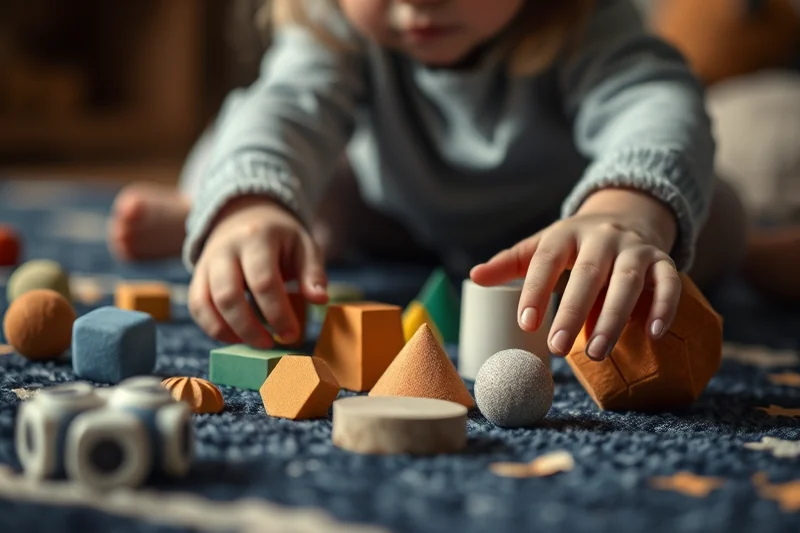
I start each day by picking 2-3 activities from the checklist based on what my daughter is interested in that day. Sometimes it’s a texture board, sometimes it’s a color-matching game — the key is to keep it varied and flexible.
I’ve found that consistency is important, but not in a rigid way. If she’s not interested in the activity I chose, we move on to something else. The checklist is a guide, not a rule. It’s meant to help me stay organized, not to force my child into a specific routine.
Another tip I use is to rotate the printables every few days to keep things fresh. If an activity becomes too familiar, it loses its appeal. Rotating keeps the experience new and engaging for my daughter.
Consistency, not rigidity, is the key to daily sensory play.
Related: Simple sensory play checklists
The Benefits of Using Checklists for Sensory Play
One of the biggest benefits I’ve noticed is that the checklist helps me stay focused on what’s working and what needs to change. If an activity isn’t engaging my daughter, I can easily replace it with something else from the list.
I’ve also found that checklists help reduce stress during chaotic days. When I’m overwhelmed, I can just pull out the checklist and pick an activity that’s simple and effective. It’s like a reset button for my brain.
The checklist also helps me make the most of limited time. When I’m short on time, I can quickly pick an activity that doesn’t require a lot of prep or cleanup, which is especially helpful when I’m juggling work and family responsibilities.
When you’re feeling overwhelmed, use the checklist to pick a simple, calming activity that can help both you and your child reset and refocus.
“I remember the first time I handed my 2-year-old a printable sensory board — her eyes lit up like fireflies in a summer night.”— PlayMessy editors
Related: Sensory play printables checklists mistakes to avoid
Making the Checklist Work for Your Family
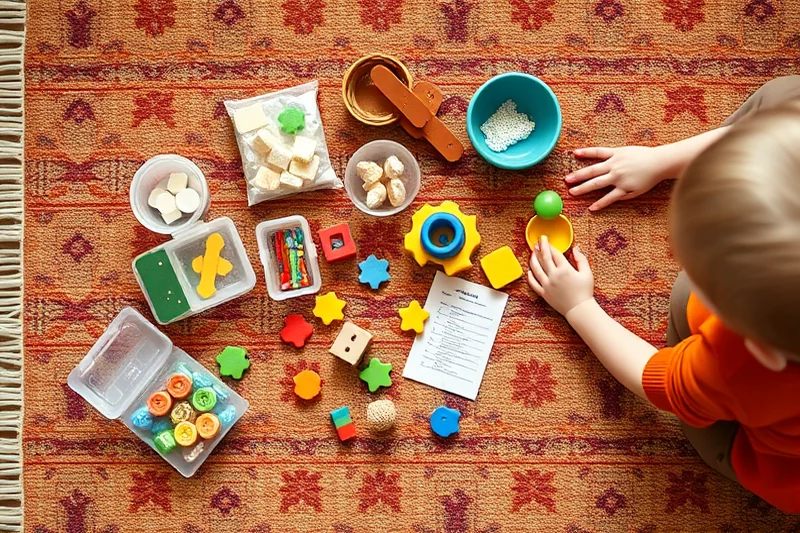
One of the best things about a checklist is that it can be customized. If your child has specific sensory needs or preferences, you can tailor the checklist to match those. For example, if your child loves water play, you can include water-based activities in your checklist.
I’ve also found that involving your child in the customization process can be helpful. If they get to pick some of the activities, they’re more likely to engage with them. It also helps them feel more in control of their playtime.
Another tip is to use the checklist as a way to introduce new activities gradually. If your child is resistant to a new type of sensory play, start with small, short sessions and build up over time.
Related: Sensory play printables step by step
How to Store and Organize Your Printables
I keep all my printables in a labeled folder or binder that’s easily accessible. This helps me find what I need quickly, especially when I’m in the middle of a busy day.
I’ve also found that using page protectors and hanging folders helps keep everything organized. This is especially helpful if you’re using a lot of laminated printables that need to be wiped down or used multiple times.
Another tip is to categorize your printables by type of activity or sensory input. This helps me quickly find the right activity for my daughter’s mood or needs without having to go through everything.
🧸 Gentle Sensory Play
Ideal for kids who need a calm, low-stimulation environment and activities that are easy to focus on.
⏱️ Fast-Track Sensory Play
Perfect for busy days when you need to get a sensory activity up and running in under 10 minutes.
✈️ Travel/Away-from-Home Sensory Play
Designed for on-the-go play with activities that don’t require extra materials or a lot of prep.
👶 Multiples Sensory Play
Tailored for families with more than one child, offering activities that can be done simultaneously or separately.
🔄 Regression Reset Sensory Play
Helps children who are going through a developmental regression by providing structured, engaging play that supports growth and learning.
| The mistake | Why it happens | The fix |
|---|---|---|
| Using too many printables at once | This can overwhelm your child and make the experience less effective. | Start with just 2-3 activities and gradually add more as your child becomes comfortable with them. |
| Forcing your child to complete every activity on the checklist | This can create resistance and make the experience stressful for both you and your child. | Use the checklist as a guide, not a rule. Let your child choose the activities they’re interested in. |
| Not adapting the checklist to your child’s needs | A one-size-fits-all approach may not be effective for every child or family. | Customize the checklist based on your child’s interests, abilities, and sensory needs. |
| Ignoring the importance of organization | A disorganized checklist can make it difficult to find and use the activities when you need them most. | Use labeled folders, page protectors, and categorization to keep your printables organized and easy to access. |
Related: Sensory play printables that actually work
Quick Sensory Play Printables Checklists
Related: Sensory play printables for small spaces
Creative Ways to Extend Playtime with Checklists
I’ve learned that checklists can be a powerful tool to extend playtime and encourage deeper exploration. One way I’ve used them is by introducing a “sensory journey” theme, where each activity on the checklist leads to the next, creating a narrative. For example, we start with squishing playdough to “create a volcano,” then move to mixing colors in water to “make lava,” and end with using cotton balls to “clean up the mess.” This storytelling approach keeps children engaged and invested in the process.
Another method I’ve tried is using the checklist to integrate different types of sensory input. For instance, one checklist might include tactile activities like painting with fingers, auditory tasks like shaking a box with bells, and visual elements like sorting colored pompoms. By intentionally mixing these inputs, I’ve noticed my child becomes more observant and curious about how different senses work together. This has also helped introduce early concepts like cause and effect or pattern recognition in a fun, hands-on way.
I’ve also used checklists as a way to encourage creativity by allowing my child to choose which activities to do and in what order. This choice-making has increased their autonomy and made the experience feel more personal. I’ve even created a “challenge” version of the checklist, where completing all the tasks in one sitting earns a small reward, like a sticker or a special activity. This has helped teach my child about perseverance and the joy of completing a task from start to finish.
Tracking Progress and Tailoring Activities with Checklists
Use checklists to track your child's progress and tailor sensory play to their developmental stage.
Over time, I noticed that using a checklist helped me identify which sensory activities my toddler was most engaged with and which ones she avoided. For instance, she loved playing with kinetic sand but often skipped the water play section. By marking off completed activities, I could see patterns and adjust our routine accordingly. This also helped me spot when she was ready to move on to more complex textures or materials, like playdough with embedded objects.
I began adding notes next to each activity to jot down observations—like 'loves the squishy texture' or 'gets frustrated with the beads.' These notes became a valuable resource when planning future sensory sessions. I also used the checklist to track how long she stayed engaged with each activity, which helped me gauge her attention span and plan play sessions that matched her energy levels. This approach made our sensory play more intentional and responsive to her needs.
Another benefit of tracking progress was that it gave me a sense of accomplishment. Seeing the checklist filled out each day reminded me of how much my child was learning and growing through play. I also shared the checklist with her pediatrician during a routine checkup, and she appreciated having a visual record of our sensory activities. This made it easier to discuss her development and ensure we were meeting her milestones in a fun and engaging way.
Common Questions
Can I use these printables for kids with sensory processing challenges?
Do I need any special equipment to use these printables?
How often should I use the checklist?
Can I print these on regular paper or do I need special materials?
References
- Ayres Sensory Integration Brief Packet - AFIRM (afirm.fpg.unc.edu)
- Sensory Motor/Self-Regulation - Auburn School Department (auburnschl.edu)
- Developmental Milestones Table (depts.washington.edu)
Cite this guide
PlayMessy (2026). Quick Sensory Play Printables Checklists. https://playmessy.com/quick-sensory-play-printables-checklists/
Feel free to cite or share this guide.