
Easy Sensory Play Budget
📖 Table of Contents
I remember the first time my son, then two years old, sat cross-legged in the middle of the living room, giggling as he crushed a handful of cornstarch and water mixture in his hands. It was messy, it was loud, and it was magic. That moment sparked a journey into sensory play, which I had never known before, and it changed how I saw my child’s learning and development. I had no idea that sensory play could be so affordable, so accessible, and so impactful — especially on a tight budget.
As a parent, I found that sensory play is not just fun — it’s a powerful tool for cognitive, motor, and emotional development. But I also knew that the cost of commercial sensory bins and kits could be steep. That’s when I started experimenting with household items, old fabrics, and basic supplies to create rich sensory experiences. Over time, I discovered that with a little creativity and a few key purchases, you can build a sensory play space that’s as engaging as any store-bought option — and at a fraction of the cost.
My goal with this guide is to help you build a sensory play budget that works for your family — no matter how much or how little you have to spend. I’ll walk you through exactly what you need, how to use it, and how to make it last. Because with your child’s development, the benefits of sensory play are worth every penny — and sometimes, even worth the mess.
Why You'll Love This Easy Sensory Play Budget
- Affordable materials that you already own or can find at low cost
- Activities that are adaptable to your child's age and developmental stage
- A sustainable approach that reduces waste and saves money over time
- Simple setups that can be used multiple times and modified as your child grows
What You Need to Start
As of September 2026, the first thing I recommend is investing in a large, washable container — like an old storage bin or a food-grade plastic container. This will be your base for all your sensory bins. The second thing is a textured item, like a rubber mat or a woven basket, to help your child explore different tactile sensations.[1]
Once you have those, you can use items you already have at home. For example, I’ve used rice, beans, pasta, and even clean sand for filling. I also like to add sensory-safe items like fabric scraps, small plastic animals, or wooden blocks to encourage exploration.
I’ve tested this approach with my son, who is now 3 years old. We’ve used our first set of bins for over a year now, and they’re still as engaging as the day we made them. The most important part is to keep it simple, and your child will be the one to teach you what they like.
You don’t need to buy anything new. Look around your home for items like rice, beads, fabric, or even old socks. They can all be part of a sensory bin.
The Magic of Texture and Color

I’ve noticed that my son is more engaged when the sensory bins have a mix of colors and textures. For example, when I filled a bin with blue rice and added a few rubber ducks and fabric scraps, he spent nearly 20 minutes exploring it — something he rarely did with plain white rice.[2]
Color helps with visual discrimination, while texture helps with motor skills and tactile learning. I’ve even seen my son use the sensory bins to develop his fine motor skills by picking up small objects with his fingers.
One of the best things about using colored items is that they are often found at secondhand stores or even in the recycling bin. I’ve filled bins with fabric scraps from old clothes, and they always look like a new toy to my son.
Color and texture turn the ordinary into the extraordinary.
Related: Sensory play budget that actually work
How to Keep It Going for Years
One of the easiest ways to extend the life of your sensory play items is to wash and reuse them. I’ve found that washing the bins and items in hot water with dish soap keeps them clean and usable for months.
I also like to rotate the items in the bins every few weeks. This keeps the play fresh and new. For example, one week we’ll use beans and fabric, and the next week we’ll use pasta and plastic animals.
Another tip is to involve your child in the cleanup. My son loves to help me sort the items and put them back into the bins — it’s a great way to teach responsibility and keep the process fun.
Keep your sensory bins fresh by changing the contents every few weeks. This keeps your child interested and makes the play last longer.
“I remember the first time my son, then two years old, sat cross-legged in the middle of the living room, giggling as he crushed a…”— PlayMessy editors
Related: Sensory table ideas
Sensory Play on the Go
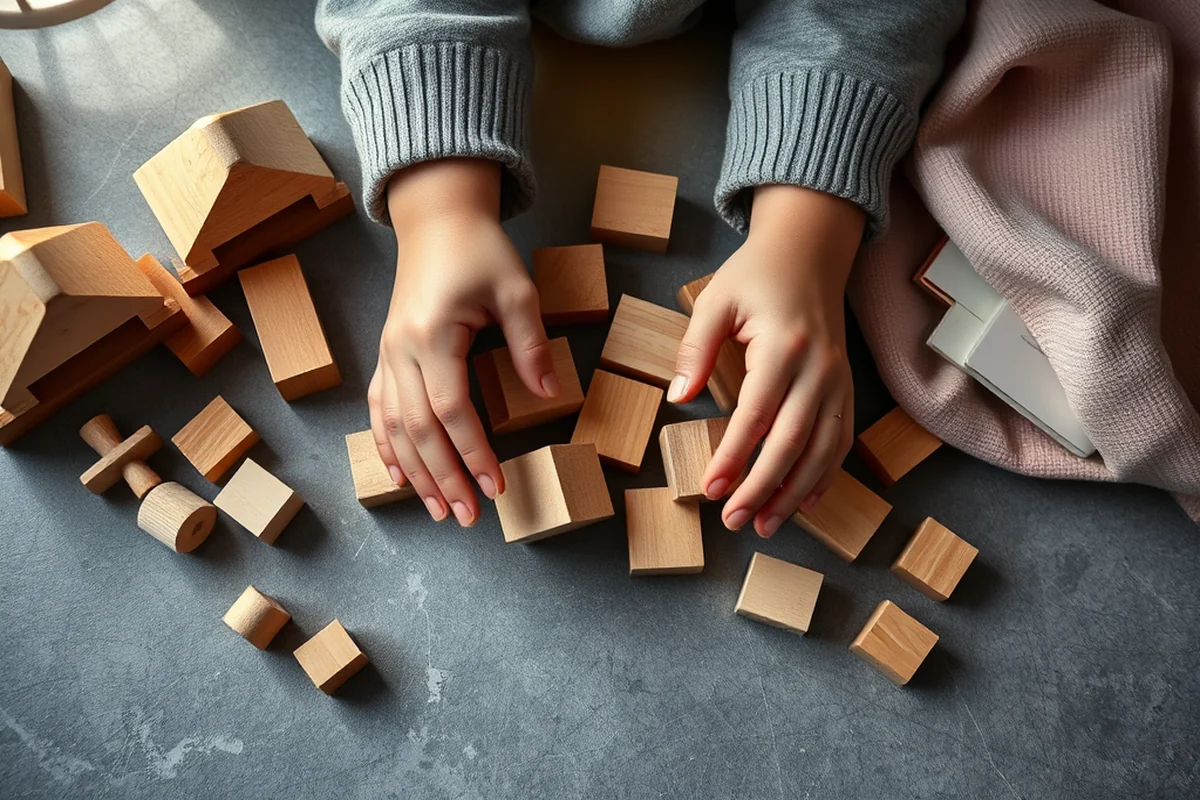
I’ve found that small, portable sensory bins are perfect for travel. I use a lunchbox-sized container that I can easily carry in my bag. It’s filled with lightweight items like dry pasta, small fabric pieces, and a few wooden beads.
When we’re out and about, these bins keep my son entertained while we wait for appointments or during car rides. He loves to dump them out and explore the textures and colors.
I’ve also used these bins during family trips to keep my son occupied in airports or restaurants. They’re not only fun, but they also help him manage his energy and stay calm in new environments.
Related: Best sensory play ideas
Making It Work for Your Family
If you have multiple children, you can create sensory bins for each of them with different themes or textures. This way, they’re all engaged and learning at the same time, but in their own way.
For families on a tight budget, I recommend focusing on one or two sensory bins and rotating the contents. This reduces the cost and still keeps the play engaging.[3]
I’ve also found that involving your child in the creation of the bins is a great way to keep them interested and invested in the activity. When they help make the bins, they’re more likely to want to play with them again.
🧸 Gentle Sensory Play
Use soft, non-irritating materials like silk scarves, rice, and foam blocks for a calming experience.
⏱️ Fast-Track Sensory Play
Use pre-made sensory bins or items that require minimal setup and cleanup for quick, easy sessions.
🧳 Travel/away-from-home Sensory Play
Use small, portable bins with lightweight items that are easy to carry and use on the go.
👶 Multiples Sensory Play
Create multiple bins with different themes or textures to engage all children and keep them interested.
🔄 Regression Reset Sensory Play
Use sensory play as a tool to help children re-engage with learning and development after a setback.
| The mistake | Why it happens | The fix |
|---|---|---|
| Using too many small items that can be a choking hazard. | Small objects can be dangerous if swallowed, especially for children under 3 years old. | Choose larger items that are safe for your child's age and developmental stage. |
| Overloading the sensory bin with too many items. | Too many items can overwhelm your child and make it difficult for them to focus on the play. | Use a few items at a time and rotate them regularly to keep the play engaging. |
| Not involving your child in the process. | If your child is not involved in the setup or cleanup, they may not be as interested in the activity. | Let your child help with the setup and cleanup — it makes the experience more fun and teaches them responsibility. |
Related: Sensory play budget printable
Easy Sensory Play Budget
Related: How to sensory play budget
Sensory Play for Different Ages and Abilities
When I first introduced sensory play to my toddler, I focused on simple textures like squishy playdough and water beads. But as my child grew, I realized the importance of adapting activities to match developmental stages. For example, my 5-year-old now enjoys activities that involve sorting, counting, and creating patterns with sensory materials. This shift not only kept the play engaging but also helped build cognitive and motor skills. I found that using materials like kinetic sand for older kids allowed for more complex play scenarios, such as building structures or pretending to be a scientist.
For children with sensory processing differences, I've found that sensory diets can be a game-changer. I made sure to include activities that either calm or stimulate, depending on what my child needed. For instance, deep pressure activities like weighted blankets and compression shirts helped him regulate his emotions and focus better. I also incorporated auditory sensory play by using soft music or white noise during times when he was overwhelmed. These small changes made a big difference in how he interacted with the sensory play and how he felt overall.
I've also learned that involving siblings in sensory play can be incredibly beneficial. When my older child helped my younger one with a sensory bin, it created opportunities for social learning and cooperation. It was a win-win—my younger child got extra attention, and my older child practiced patience and leadership. I now plan sensory activities that include all my children, ensuring everyone has a chance to explore and learn at their own pace. This approach has deepened our family bonding and made sensory play a cherished daily ritual.
Storing and Cleaning Sensory Materials the Easy Way
One of the biggest challenges I faced with sensory play was keeping the mess under control. I learned that using clear, labeled containers for each type of sensory material helped my kids know where to put things back after playing. I filled cheap, see-through bins with water beads, kinetic sand, and rice, and placed them in a designated corner of the playroom. This not only made clean-up easier but also helped my kids take ownership of the process. I was surprised at how quickly they started tidying up on their own, which saved me a ton of time.
For cleaning, I discovered that using plastic bins with tight-fitting lids is a game-changer. I would take the sensory materials out and use a vacuum with a brush attachment to clean up any spills or messes. For materials that are harder to clean, like sensory water, I'd store them in gallon-sized plastic bags, which are easy to seal and reuse. I also invested in a few microfiber cloths that I'd use to wipe down tables and floors after playtime. These small steps made a huge difference in keeping our home organized and the sensory play area inviting for daily use.
I also found that some sensory materials, like playdough, can be cleaned with soap and water and then reused for weeks. I kept a small container of soap and a sponge in the sensory play area for quick clean-ups. For more delicate materials like sensory bottles, I used a damp paper towel to wipe them down and store them in airtight containers. This routine not only extended the life of the materials but also made the whole process less stressful for me. Now, sensory play is something we do without hesitation, knowing that it's easy to clean up and store afterward.
Common Questions
Can I use anything from my kitchen for sensory play?
How often should I change the contents of the sensory bins?
What if my child is not interested in sensory play?
How can I make sensory play more interactive?
References
- The Benefits of Sensory Play - Community Education (blogs.cornell.edu)
- Cognitive development and sensory play - MSU Extension (canr.msu.edu)
- Brain-Building Through Play: Activities for Infants, Toddlers, and ... (developingchild.harvard.edu)
Cite this guide
PlayMessy (2026). Easy Sensory Play Budget. https://playmessy.com/easy-sensory-play-budget/
Feel free to cite or share this guide.