
Diy Sensory Play Stage
📖 Table of Contents
I remember the first time my daughter sat on the edge of our DIY sensory play stage, eyes wide as she traced the texture of a fabric patch I had sewn onto the base. It was a simple creation—just a wooden board with a few materials attached—but it sparked a connection that lasted for hours. This is what a DIY sensory play stage can do: turn a moment into a memory. I built it over a weekend, using items we already had at home, and it became our go-to space for learning, exploration, and bonding.[1]
Sensory play is not just about fun. It's a crucial part of early childhood development, helping kids build motor skills, focus, and emotional regulation. I’ve seen the difference it makes in my own child’s confidence and curiosity. A DIY sensory play stage is a low-cost, customizable way to create a safe and engaging environment for your child, tailored exactly to their needs and interests. It doesn’t need to be complicated—just thoughtful and intentional.
The beauty of a DIY sensory play stage is that it’s completely flexible. I’ve used it as a calm-down corner during stressful days, a learning station for counting and sorting, and even a creative hub for drawing and storytelling. It’s a space that grows with your child and adapts to their developmental stage. The best part? It’s something I built myself, using minimal materials, and it has become a centerpiece of our family’s daily routine.
Why You'll Love This DIY Sensory Play Stage
- Encourages hands-on learning and creativity in a safe space
- Customizable to fit your child’s developmental needs and interests
- Cost-effective and easy to build with household items
- Promotes focus, sensory processing, and emotional regulation
What is a DIY Sensory Play Stage?
As of September 2026, a DIY sensory play stage is a low-cost, customizable setup that allows your child to explore textures, colors, and materials in a safe and engaging way. It can be built on a simple wooden board, a table, or even a large cardboard box. The key is to provide a variety of sensory materials that encourage touch, sight, and movement.
Unlike traditional play areas, a sensory play stage can be adapted as your child grows. For example, I used fabric patches and sandpaper for younger toddlers, and later switched to more complex textures like felt and foam for older children. This flexibility is one of the main reasons I chose to build a stage instead of buying pre-made sensory bins.
The stage becomes a learning tool, a calming space, and a creative outlet all in one. It’s about creating a space where your child feels safe and inspired to explore and play.
Begin with just a few materials on your stage. As your child grows and explores, add more textures and tools. This keeps the stage engaging and allows you to personalize it over time.
Part of our Sensory play by age stage guide.
The Benefits of a Sensory Play Stage
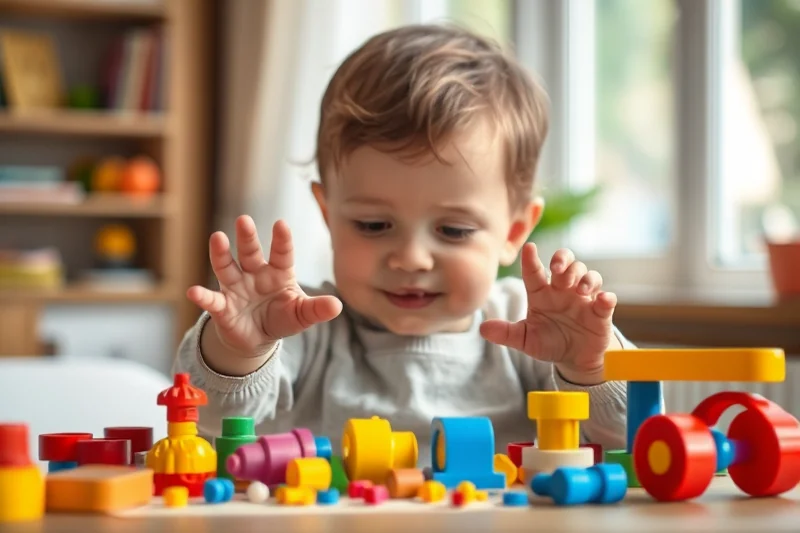
Sensory play is more than just fun—it’s a powerful tool for development. Studies show that children who engage in sensory play regularly develop better fine motor skills, focus, and emotional regulation. In my own experience, my daughter has shown significant improvement in her ability to sit still and concentrate after using the stage.[2]
The stage also helps children process sensory input in a controlled way. I’ve used it as a way for my child to self-soothe during stressful times, especially when she’s overstimulated. The tactile elements on the stage help her calm down and refocus.
Also, the stage provides a structured environment for learning through play. I’ve used it for counting, sorting, and even storytelling, which has helped my child develop early literacy and math skills.
Sensory play is the foundation of learning and emotional growth.
Related: Sensory play stage printable
Related: Sensory play stage for beginners
Related: Diy sensory play by age stage
How to Build a DIY Sensory Play Stage
Building a DIY sensory play stage is simple and doesn’t require any special skills. I used a small wooden board (about 24 x 36 inches) and attached various materials using Velcro, glue, and fabric. You can also use a large cardboard box or even a low table as a base.[3]
I recommend starting with a few basic textures and gradually adding more as your child explores. I used sandpaper, fabric patches, foam shapes, and wooden blocks to create a variety of sensory experiences. These materials are easy to clean and can be swapped out as needed.
Once the base is set, you can personalize it with your child’s favorite colors, patterns, or even photos. I added a small mirror and a soft blanket for comfort, which made the stage more inviting for my daughter.
Don’t feel like you need to buy expensive materials. Look around your home for items that can be repurposed, like fabric scraps, foam pieces, or even smooth stones.
“I remember the first time my daughter sat on the edge of our DIY sensory play stage, eyes wide as she traced the texture of…”— PlayMessy editors
Related: Easy sensory play stage
Related: Sensory play by age stage ideas
Related: Sensory play stage on a budget
How to Use Your Sensory Play Stage
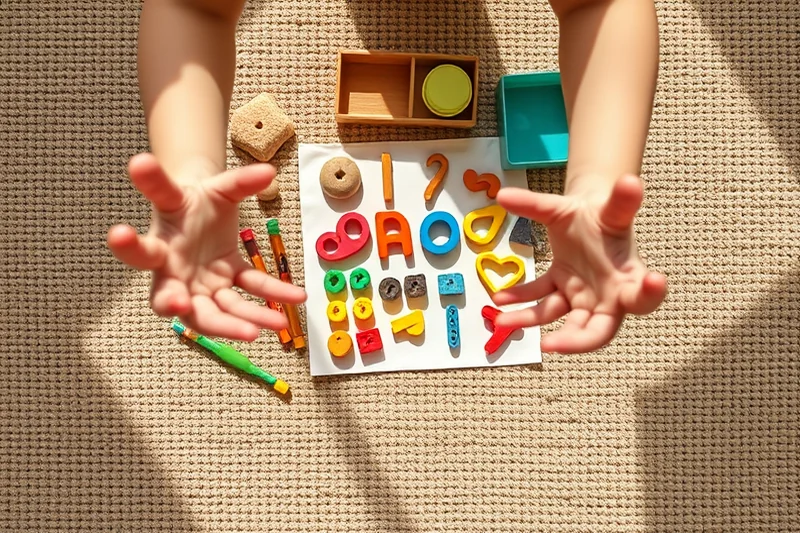
Once your stage is set up, there are many ways to use it. I use it for free-play time, where my daughter can explore the textures and materials at her own pace. This helps her build independence and confidence.
I also use the stage for structured activities, like sorting games, counting exercises, and storytelling. For example, I’ll place different textures in a row and ask my daughter to find the one that feels like a certain object. This helps her develop cognitive skills and language.
The stage is also a great place for sensory processing. When my daughter is feeling overwhelmed, I’ll let her sit on the stage and explore the materials to calm down. It’s a safe and controlled environment that helps her regulate her emotions.
Related: Affordable sensory play stage
Related: Sensory play stage guide
Related: Sensory play by age stage on a budget
Making the Most of Your Sensory Play Stage
Keeping the stage organized is key to making the most out of it. I use small bins or baskets to store the materials, which helps prevent clutter and keeps everything accessible. This also teaches my daughter about sorting and categorizing.
Involving your child in the setup process can be a great learning experience. I let my daughter choose which materials to add to the stage and even help me attach them. This makes her feel more invested in the space and encourages her to take care of it.
I also make sure to rotate the materials on the stage regularly. This keeps the experience fresh and prevents the stage from becoming a static play area. Rotating materials also helps my daughter develop new skills and interests over time.
🧸 Gentle Sensory Stage
A calm and soothing stage designed for children who are easily overstimulated.
⏱️ Fast-Track Stage
A quick and easy setup for busy parents who want to create a sensory space in minutes.
🧳 Travel Stage
A portable version of the sensory play stage for on-the-go exploration and learning.
👶 Multiples Stage
A shared sensory stage that can accommodate multiple children at once.
🔄 Regression Reset Stage
A sensory stage designed to help children re-engage with learning and play after a developmental pause.
| The mistake | Why it happens | The fix |
|---|---|---|
| Not cleaning the materials regularly. | This can lead to hygiene issues and reduce the lifespan of the materials. | Wipe down fabric and foam items regularly, and store them in a clean bin when not in use. |
| Overloading the stage with too many materials. | This can overwhelm your child and make the stage less effective for sensory processing. | Start with a few basic materials and add more as your child becomes more familiar with the stage. |
| Not involving your child in the setup. | This can make the stage feel less personal and less engaging for your child. | Let your child choose which materials to include and even help you attach them. |
| Using materials that are too rough or too soft. | This can cause discomfort or a lack of sensory input, making the stage less effective. | Choose a variety of textures, from soft to firm, to provide a balanced sensory experience. |
Related: Sensory play by age stage step by step
Related: Sensory play stage for small spaces
Related: Quick sensory play stage
Diy Sensory Play Stage
Related: Sensory play by age stage guide
Related: Quick sensory play by age stage
Related: How to sensory play by age stage
Incorporating Nature into Your Sensory Play Stage
Bringing elements from the natural world into your sensory play stage adds texture, color, and a connection to the environment.
I started collecting items from my backyard like pinecones, smooth river stones, and dried leaves to use as natural sensory materials. These items offer a variety of textures and are often free or low-cost. My child loves running her fingers over the rough bark of a pinecone or feeling the cool, smooth surface of a pebble. Nature-based sensory play also encourages exploration and curiosity, and it's a great way to teach about the environment.
I’ve found that using natural materials helps reduce the need for synthetic or commercial sensory products, which can be expensive and less eco-friendly. I often take our sensory play stage outside during warmer months, spreading out a tarp or blanket on the grass and letting my child engage with the natural elements directly. This not only enhances sensory development but also promotes physical activity and a love for the outdoors.
I’ve noticed that incorporating nature into sensory play also helps with emotional regulation. My child tends to calm down more quickly when she’s interacting with natural materials, perhaps because they feel familiar and soothing. I sometimes mix natural items with other sensory components like sand or water to create layered experiences. This approach has made our sensory play stage a more dynamic and versatile part of our home, offering a range of activities that keep my child engaged and learning.
Sensory Play Stage Maintenance and Long-Term Use
Keeping your sensory play stage clean and functional is key to its longevity and your child's enjoyment.
Maintaining your DIY sensory play stage requires regular cleaning and periodic reorganization. I use a microfiber cloth and mild soap to wipe down surfaces weekly, and I vacuum or sweep the area daily to remove small debris. For fillers like rice or beans, I store them in airtight containers with labels to prevent clumping and contamination. This has saved me from several instances of mold and mildew, especially during humid seasons.
Over time, sensory materials can degrade or become less engaging. I rotate the materials every few weeks to keep the experience fresh for my child. For example, I replaced dried pasta with shredded paper one month and then switched to kinetic sand the next. This not only extends the life of the play stage but also keeps my child interested and excited about using it. I also set a rule that if a material is too worn or dirty, we replace it immediately, which has helped us avoid frustration during play sessions.
I've also learned the importance of involving my child in the maintenance process. Letting them help clean up after play sessions teaches responsibility and makes them more invested in the space. I use a small container with gloves, wipes, and a bin for dirty materials, and we go through this routine together. This has not only made the cleanup faster but also turned it into a bonding activity. Additionally, I've found that using natural, non-toxic materials has made the maintenance process safer and more straightforward, especially when it comes to cleaning and sanitizing.
Common Questions
What age is a sensory play stage best for?
Can I use a sensory play stage for both learning and play?
How do I keep the stage clean?
Can I make the stage without a wooden board?
References
- Books (010) -- Guides -Classroom Use - ERIC (files.eric.ed.gov)
- The Powerful Role of Play in Early Education (cde.ca.gov)
- CPSC staff will begin using the 2020 Age Determination Guidelines ... (cpsc.gov)
Cite this guide
PlayMessy (2026). Diy Sensory Play Stage. https://playmessy.com/diy-sensory-play-stage/
Feel free to cite or share this guide.