
Sensory Play Budget Tips
📖 Table of Contents
I remember the first time I saw my son’s face light up during a sensory play session — it was just a simple bin of water, a few sponges, and a few rubber ducks. That moment taught me that sensory play doesn't have to be expensive or complicated. It just needs a little creativity and a lot of love. With the right approach, you can provide a rich, engaging, and educational sensory experience without breaking the bank.
As a parent, I’ve spent countless hours researching and testing different ways to bring sensory play into our home. I’ve tried everything from high-end sensory bins to DIY setups using things I already had on hand. What I’ve learned is that the most effective and affordable sensory play setups are the ones that are tailored to your child’s interests and developmental stage. It’s all about being intentional with what you choose and how you use it.
The key to making sensory play work on a budget is to understand the core principles of sensory development and then apply them in a way that’s both fun and economical. Whether you're a first-time parent or a seasoned one, I want to share the strategies that have worked for my family and others. These tips are grounded in real experience, not generic advice — and they’re designed to help you create a sensory-rich environment that supports your child’s growth without the financial strain.
Why You'll Love This Guide to Sensory Play Budget Tips
- Discover how to create engaging sensory experiences without spending a fortune.
- Learn practical, real-world strategies that work for families with different lifestyles.
- Get creative with everyday items to make playtime both educational and affordable.
- Avoid common mistakes that waste money and time while still keeping your child engaged.
Start with What You Already Have
As of September 2026, I’ve found that the best sensory play setups often start with the things we already have in our homes — things like rice, beans, water, or even shredded paper.
For example, I filled a large container with water and added rubber ducks, sponges, and bath toys — it was just $20 for a few toys, and the rest was already there.[1]
By reusing everyday household items, you can create a variety of sensory experiences without needing to purchase expensive kits or products.
Look around your house for items like pasta, playdough, or even dried beans — these can be used for texture and tactile play without any cost.
Focus on Developmental Stages

My daughter’s sensory play changed dramatically as she grew from 18 months to 3 years old — and so did the types of materials we used.[2]
At 18 months, she loved simple textures and heavy items, while by 3 years old, she was engaging in more complex activities like sorting and counting.[3]
Understanding your child’s developmental stage allows you to choose the right materials and activities, ensuring a more effective and enjoyable experience.
Tailor your sensory play to your child's developmental stage — it’s the most cost-effective way to maximize learning.
Related: Sensory play budget ideas 2
DIY Sensory Bins Are a Game-Changer
I’ve made sensory bins with everything from rice and beans to shredded paper and flour — each one has a different texture and purpose.
One of my favorites was a bin filled with cornstarch and water — it was a hit with my daughter and only cost about $5 for the materials.
DIY bins allow you to experiment with different textures, colors, and materials, and the best part is that you can reuse the materials in multiple bins.
Use items like dried pasta, rice, or even shredded paper to create a variety of sensory experiences — the possibilities are endless.
“I remember the first time I saw my son’s face light up during a sensory play session — it was just a simple bin of…”— PlayMessy editors
Related: Sensory play budget ideas step by step
Bulk Buying Can Save You Money
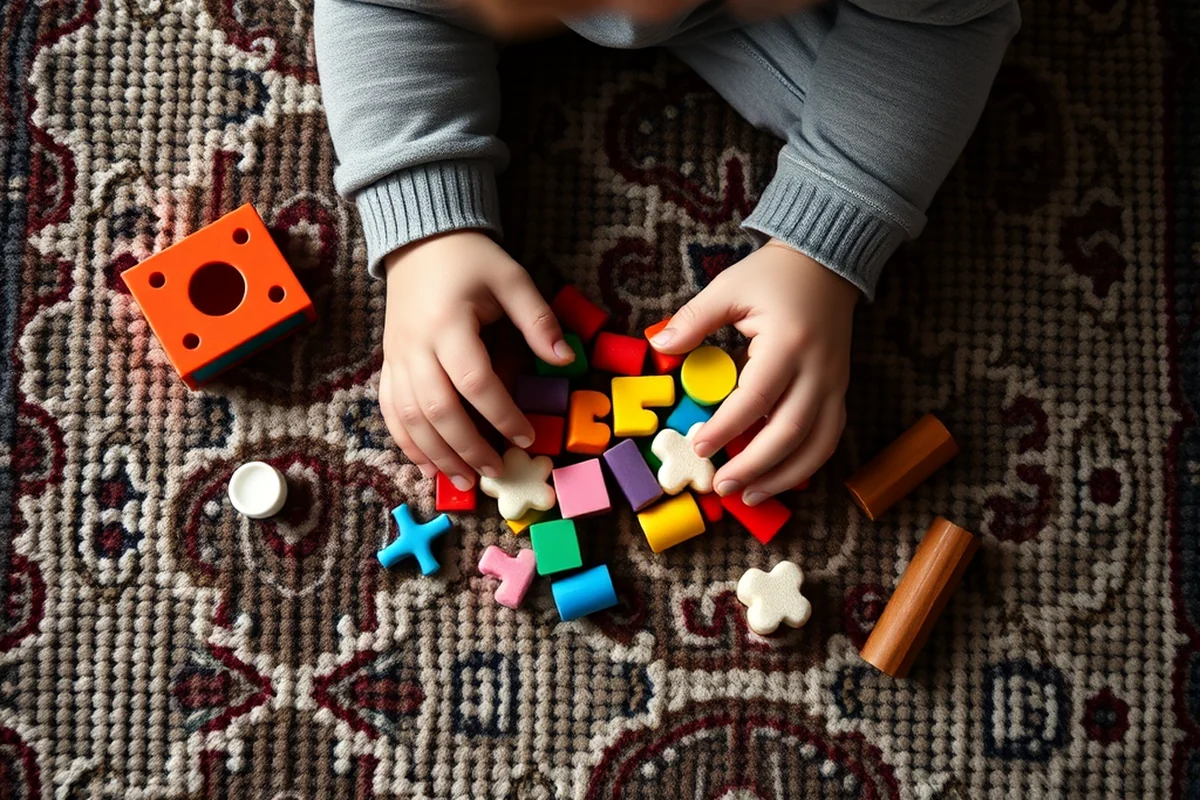
I once bought a 5-pound bag of rice for $4 — it lasted us for months across multiple sensory bins.
Buying in bulk is especially useful for items like dried beans, shredded paper, or even sensory-safe fillers like rice or beans.
Just be sure to store the materials properly in airtight containers to keep them fresh for future use.
Related: How to sensory play budget ideas
Create a Rotation System for Play Materials
I keep a few different sensory bins and rotate them every couple of weeks to keep things exciting for my daughter.
By rotating, we’ve found that we can use the same materials in different ways and keep the play experience varied.
This also helps prevent sensory fatigue — it’s a small but effective way to keep your child engaged.
👶 Gentle Approach
A slow and methodical way to introduce sensory play with minimal materials and maximum comfort for your child.
⚡ Fast-Track
A quick and efficient way to set up multiple sensory bins in a short amount of time using pre-made kits or bulk materials.
🧳 Travel/Away-from-Home
Ideal for parents who are often on the go — focus on lightweight and portable sensory items that can be easily transported.
👯♀️ Multiples
A strategy for parents with more than one child — create sensory play setups that can be shared or adapted for different developmental stages.
🔄 Regression Reset
A way to reset and re-engage your child during a sensory regression by introducing new and stimulating sensory materials.
| The mistake | Why it happens | The fix |
|---|---|---|
| Buying too many specialty products at once | This can be overwhelming for your child and may lead to unused items. | Start small and rotate materials rather than buying a large collection all at once. |
| Ignoring your child's interest in the activity | If your child isn't engaged, the play won’t be effective, and you’ll waste time and money. | Observe your child’s preferences and tailor the sensory activities to their interests and developmental stage. |
| Not cleaning or storing materials properly | This can lead to contamination, mold, and the materials becoming unusable for future play. | Always store sensory materials in clean, dry, and airtight containers after each use. |
| Not being consistent with sensory play | Consistency is key to developing sensory skills — skipping play sessions can hinder progress. | Schedule regular sensory play sessions, even if they’re just 10 minutes a day. |
Related: Budget sensory play budget ideas
Sensory Play Budget Tips
Related: Sensory play budget ideas for small spaces
Embrace Nature for Inexpensive and Educational Sensory Experiences
Nature is one of the most affordable and accessible sources of sensory materials. I regularly take my child on walks in the park or along the beach, where we collect leaves, rocks, shells, and pinecones. These items can be used for sorting, counting, and exploring textures, and they’re all free. I’ve even created simple sensory bins using natural materials like dried flowers, dirt, and sand, which my child loves to dig through and investigate.
One of the best things about using natural materials is that they change with the seasons. In the fall, we gather leaves of different colors and textures, and in the winter, we use snow and ice to create sensory experiences. I once made a sensory bin filled with crushed ice and small plastic animals, and my child had a blast pretending it was an icy lake. These activities are not only educational but also encourage creativity and imagination.
Incorporating nature into sensory play also teaches kids about the environment and helps them develop a deeper connection with the world around them. I’ve noticed that when my child plays with natural materials, she becomes more curious and asks more questions about where things come from and how they’re used. It’s a low-cost way to stimulate learning and curiosity, and it’s something that can be done almost anywhere, anytime.
Maximize Free and Low-Cost Resources from Local Communities
I’ve found that many local libraries, community centers, and schools offer free sensory play events, workshops, or even sensory-friendly storytimes. My local library hosts monthly sensory play days where kids can explore materials like kinetic sand, playdough, and textured books. These events are free and often provide take-home materials or ideas for parents to recreate at home.
I also joined a local Facebook group for parents, where people regularly share free sensory bins, leftover materials, or even free sensory play kits. I once received a bag of dried beans and rice from a neighbor who was cleaning out her pantry, and I turned it into a sensory bin for my toddler. These kinds of community-driven efforts can help reduce costs significantly.
Online platforms like Pinterest or YouTube also have endless ideas for low-cost or free sensory play. I’ve used printable sensory bins, which only require a few household items to complete. These resources are accessible to anyone with an internet connection and can be adapted to suit a child’s specific needs or interests.
Common Questions
What are the best materials to use for sensory play on a budget?
How can I keep my child interested in sensory play over time?
Is it safe to use household items for sensory play?
How much should I expect to spend on sensory play if I follow a budget-friendly approach?
References
Cite this guide
PlayMessy (2026). Sensory Play Budget Tips. https://playmessy.com/sensory-play-budget-tips/
Feel free to cite or share this guide.