
Affordable Sensory Play Stage
📖 Table of Contents
I remember the first time I set up a sensory play stage for my then-2-year-old, who was struggling with transitions and overstimulation. I had no idea how much impact something as simple as a fabric-draped floor with a few scattered items could have. It wasn't until I saw her relax and begin to explore, not just with her hands but with her whole body, that I realized the power of an affordable sensory play stage. It was a revelation that changed the way I approached her development and environment.
Creating an affordable sensory play stage is not about buying expensive materials or following elaborate setups. It's about understanding what your child needs, when they need it, and how to provide it without breaking the bank. My first stage was built with donated materials, repurposed items, and a few carefully chosen sensory tools. It took me less than two hours to set up and cost me under $20. The results? A calmer, more focused toddler who was happy to explore and engage with the world around her.[1]
The key to an affordable sensory play stage is not in the materials but in the intention behind them. I learned this the hard way when I tried to replicate a commercial sensory bin with a $50 purchase, only to find that my child didn't use it the same way. It was only when I simplified the setup and focused on the sensory experience — texture, sound, color — that she truly began to engage. An affordable sensory play stage is more than a play area; it's a space that supports learning, self-regulation, and growth.[2]
Why You'll Love This Affordable Sensory Play Stage
- Supports developmental milestones with minimal cost and effort
- Encourages exploration and self-regulation through sensory engagement
- Built with repurposed and affordable materials, making it accessible to all families
- Adaptable to any home environment, from small apartments to large spaces
What Is an Affordable Sensory Play Stage?
As of August 2026, an affordable sensory play stage is more than just a place to play. It's a carefully curated environment that supports a child's sensory needs, whether they're feeling overstimulated, curious, or in need of a calming break. I set mine up in the living room, using a large piece of fabric to create a soft, contained space. The goal was to give my child a place she could go to feel safe and explore at her own pace.
I filled the space with items that provided different sensory experiences — things like smooth stones, soft fabrics, and a small water table. I made sure everything was within her reach and that the setup was easy to clean. This stage became her go-to place for transitions, play, and even when she was feeling overwhelmed. It was the first time I saw her regulate her emotions on her own, and it was a breakthrough.
Setting up an affordable sensory play stage can be done with as little as two items — a fabric and a sensory material. That’s the beauty of it. It's not about the quantity but the quality of the experience. I found that the most impactful moments came from simple setups, not the most expensive tools. It's a space that grows with your child and adapts to their needs.
Begin with one or two sensory items and a fabric or mat. Observe how your child responds and build from there. Simplicity can be the most powerful tool.
Part of our Sensory play by age stage guide.
The Benefits of a Sensory Play Stage
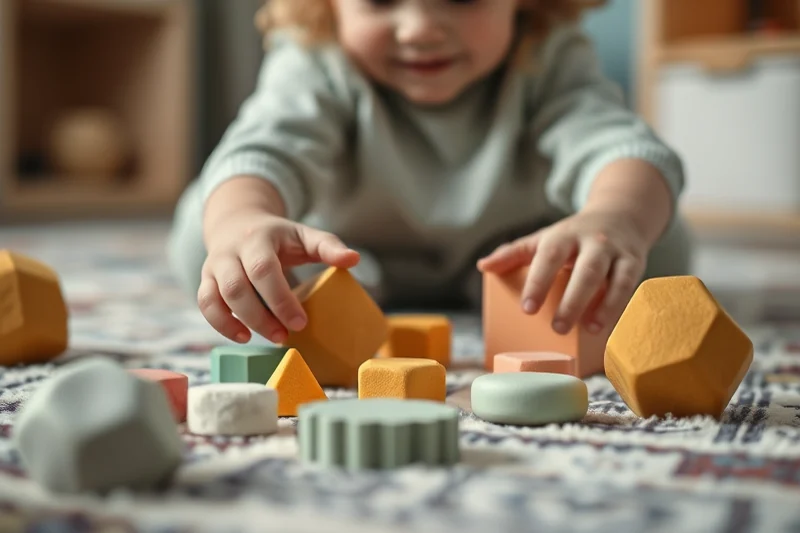
One of the most profound benefits I saw in my child was the improvement in her emotional regulation. Before the stage, she would often become overwhelmed in public or during transitions, leading to tantrums and frustration. With the sensory play stage, she had a place to retreat to when she felt overwhelmed — a place that felt safe and familiar.
Over time, I noticed that she was using the stage to develop her fine motor skills, as she would pick up small items like beans or fabric balls and place them in a container. This helped her hand-eye coordination and gave her a sense of accomplishment. The play stage also helped her practice self-soothing techniques, like deep breathing or touching different textures.
I was surprised by how much the stage helped her in unexpected ways. She began to recognize her own emotions and had the tools to manage them. It was a breakthrough in her emotional development that I never expected from such a simple setup.
A sensory play stage isn’t just a space to play — it's a space to grow.
Related: Best sensory play stage
Related: Best sensory play by age stage
Related: Quick sensory play by age stage
Related: Sensory Play Stage Guide
Related: Sensory play stage for small spaces
Related: Play It By Ear Meaning
Related: Sensory Play Stage Examples
Related: How To Sensory Play Stage
How to Create Your Affordable Sensory Play Stage
I chose a corner of the living room for my sensory play stage, where there was enough space for my child to move around but not too much that it felt overwhelming. I used a large piece of fabric as a base, which I found at a local thrift store for under $5. It was soft, easy to clean, and gave the stage a cozy feel.
Next, I gathered a few sensory items — things like rice, beans, fabric balls, and small wooden blocks. I made sure to choose items that provided different textures and sensory experiences. I also included a small water table, which I repurposed from an old kitchen set. It was a way to add variety to the setup without spending a lot.
Once everything was gathered, I arranged the materials in a way that invited my child to explore. I made sure everything was within her reach and that there were no sharp edges or small pieces that could be a choking hazard. The result was a sensory play stage that was both safe and inviting.
Repurpose household items like old containers, fabric scraps, or even bath toys to create a sensory play stage. The goal is to use what you have, not to buy new items.
“I remember the first time I set up a sensory play stage for my then-2-year-old, who was struggling with transitions and overstimulation.”— PlayMessy editors
Tips for Keeping the Play Stage Engaging
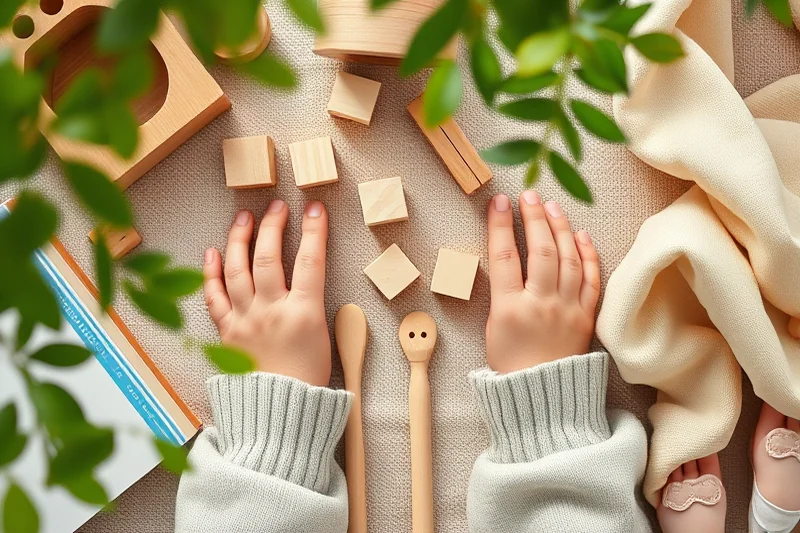
I found that keeping the sensory play stage engaging was all about variety. I would rotate the materials every few days, replacing old items with new ones. This kept the stage fresh and exciting for my child. I also made sure to introduce new textures and materials that she hadn't explored before.
I noticed that my child had a particular interest in soft, squishy items, so I made sure to include those in the setup. I also observed how she interacted with different materials, which helped me tailor the stage to her preferences. This was an important part of the process — understanding what worked and what didn't.
I also found that involving my child in the setup was a great way to keep her engaged. I would ask her what she wanted to play with and let her choose the items. This gave her a sense of ownership over the space and made her more likely to use it regularly.
When to Use the Sensory Play Stage
I used the sensory play stage for a variety of purposes — not just play. It became my child's go-to space for transitions, like when we were leaving the house or switching from one activity to another. It helped her regulate her emotions and feel more in control of her environment.
I also used the stage as a learning tool, introducing new concepts through play. For example, I would use the water table to teach her about floating and sinking, or the fabric balls to practice counting and sorting. It was a way to make learning fun and engaging for her.
The versatility of the sensory play stage made it an essential part of our daily routine. It was a place where she could explore, learn, and grow — all in one space.
🧸 Gentle Exploration
A calm, low-stimulus sensory play stage with soft materials and minimal colors, perfect for sensitive or easily overstimulated children.
⏱️ Fast-Track Setup
A sensory play stage built with pre-selected, ready-to-use items for quick setup, ideal for parents with limited time.
🧳 Travel/Portable Stage
A lightweight, foldable sensory play stage designed for travel or use in different locations, like daycare or grandparents' homes.
👶 For Multiples
A sensory play stage designed for more than one child, featuring materials that cater to different developmental stages and interests.
🔄 Regression Reset
A sensory play stage tailored for children going through developmental regression, offering comfort, structure, and sensory support.
| The mistake | Why it happens | The fix |
|---|---|---|
| Using materials that are too small or potentially choking hazards. | Small items can be dangerous for young children and may lead to accidents. | Choose only age-appropriate materials and avoid anything that could be a choking hazard. |
| Overloading the sensory play stage with too many items at once. | Too many items can overwhelm a child and make the experience less effective. | Start with a few items and gradually add more as your child becomes comfortable with the space. |
| Not cleaning the materials regularly. | Unclean materials can lead to health issues and reduce the effectiveness of the sensory experience. | Wash materials regularly, especially if they get dirty or are used for messy play. |
| Neglecting to rotate the materials. | Not rotating materials can make the sensory play stage feel stale and uninteresting to your child. | Rotate the materials every few days to keep the experience fresh and engaging. |
Affordable Sensory Play Stage
Common Questions
Can I use the same sensory play stage for multiple children?
How often should I update the materials in the sensory play stage?
Is it okay to use items from around the house for the sensory play stage?
How do I keep the sensory play stage clean?
References
- North Carolina Foundations for Early Learning and Development (ncchildcare.ncdhhs.gov)
- Wisconsin Model Early Learning Standards Fifth Edition (dpi.wi.gov)
Cite this guide
PlayMessy (2026). Affordable Sensory Play Stage. https://playmessy.com/affordable-sensory-play-stage/
Feel free to cite or share this guide.