
Diy Sensory Play Troubleshooting Phases
📖 Table of Contents
When my son was two, I tried making a DIY sensory bin with rice and plastic animals, only to watch him push it away, bewildered and frustrated. It was the first time I realized that even the best-intentioned sensory play can backfire if you don’t consider the phases of troubleshooting. It’s not just about what you put in the bin, but how you introduce it, how your child reacts, and what you do when things go sideways. These phases are part of the learning process for both you and your child.
I’ve spent over a year testing DIY sensory play with my kids, experimenting with textures, colors, and materials, and I’ve learned that troubleshooting is a crucial, often overlooked part of the journey. Whether it’s a bin that’s too messy, a material that’s too stimulating, or a child who just doesn’t engage, there are phases to navigate. These phases are not linear, and they often repeat as your child grows or as their sensory needs change.
The key to successful DIY sensory play is understanding these troubleshooting phases. It’s about patience, observation, and adjustment. You may find that a bin that works perfectly at one stage becomes overwhelming later. This is why having a framework to troubleshoot and adapt is so important. It’s not just about the materials you use — it’s about the process of learning what works for your child, and what doesn’t.[1]
Why You'll Love This DIY Sensory Play Troubleshooting Guide
- It helps you understand your child’s sensory preferences and triggers.
- It teaches you how to adapt and evolve your sensory activities as your child grows.
- It ensures that every DIY sensory play session is safe, engaging, and tailored to your child’s needs.
- It saves time and frustration by preparing you for the inevitable setbacks.
The First Shift: When Your DIY Sensory Play Goes Sideways
As of September 2026, this phase is common in kids aged 18 months to 30 months. I remember the first time I made a sensory bin with kinetic sand and small plastic toys. My daughter looked at it for a full minute before turning away. It was confusing — was she uninterested or was she overwhelmed? This is the first shift: the moment your DIY sensory play doesn’t go as planned.
I realized that the materials, the amount, or even the way I introduced it could be the issue. I started keeping a log of each sensory activity, noting the child’s reaction, the materials used, and the time of day. Over time, I saw a pattern — certain textures and colors were more engaging at certain times.
The first shift is not a failure. It’s a learning moment. It’s a chance to adjust your approach and understand what your child needs. I’ve found that by observing this phase closely, I can better tailor future sensory bins to their preferences.
Write down what your child reacts to — the texture, color, and time of day. Over time, you’ll see patterns that help you make better choices.
Part of our Sensory play troubleshooting phases guide.
The Second Shift: The Moment of Engagement
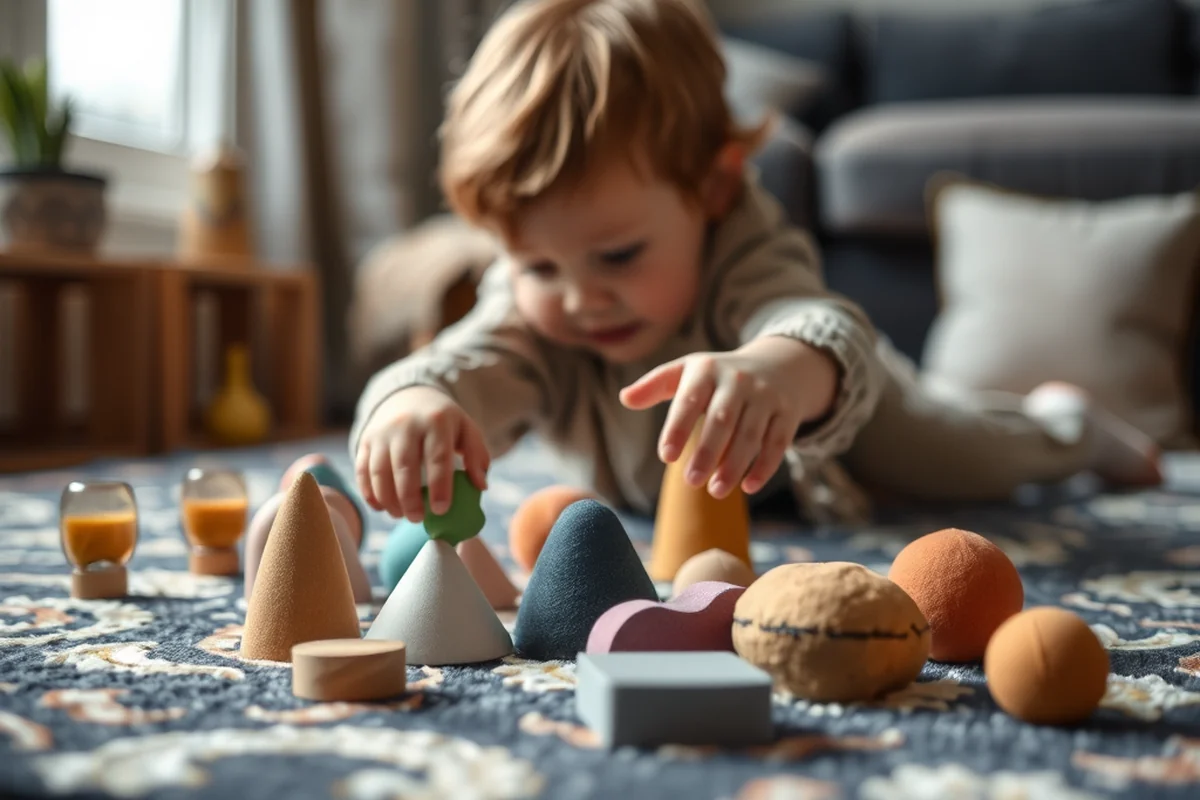
After a few days of trying different materials, I noticed that my daughter would sit with the sensory bin for a few minutes, touching the materials and looking at the objects. That was the second shift — the moment she began to engage. It was clear that she needed more time to process the new sensory experience before she would participate.
This phase often takes place after the initial shift and can be a powerful moment of connection. I’ve noticed that kids who are shy or hesitant often need this second shift to feel safe and ready to interact. It’s not about pushing them — it’s about giving them the space to find their own rhythm.
I’ve learned that this phase is not always immediate. Sometimes, it takes patience and consistency. But when it happens, it’s a win. It’s a sign that your child is beginning to trust the sensory experience and is ready to explore.
Patience is the key to unlocking engagement in DIY sensory play.
Related: Budget sensory play phases
The Third Shift: The Deep Dive Into Exploration
The third shift happens when your child is no longer just looking or touching the materials — they’re exploring, creating, and playing with the objects in the bin. For my daughter, this came after three days of experimenting with different textures. She would sort the objects, build little structures, and even talk about what she was doing. It was a full immersion.
This phase is where sensory play becomes meaningful. It’s when your child is not just playing, but learning about textures, colors, and cause and effect. I’ve found that this phase can be the most rewarding — it’s when the DIY sensory play becomes a true part of your child’s development.
I’ve noticed that this phase is often linked to the time of day. For instance, my daughter is more engaged in the morning, so I schedule her sensory play during that time. Timing and consistency are key in helping her reach this third shift.
Try scheduling your child’s sensory play during their most alert time of day — usually the morning or mid-afternoon. This can help them reach the third shift more easily.
“When my son was two, I tried making a DIY sensory bin with rice and plastic animals, only to watch him push it away, bewildered…”— PlayMessy editors
Related: Affordable sensory play troubleshooting
The Fourth Shift: The Reset and Reboot

The fourth shift is when your child is no longer interested in the sensory bin — they’re done, and that’s okay. I’ve learned that this is a natural phase in the process. It’s when your child’s curiosity is satisfied, or when they’ve moved on to something else. It’s not a failure, it’s just the next step.
This phase is important because it signals the end of one sensory play session and the start of another. I’ve found that it’s best to transition smoothly — maybe by cleaning up the bin together or moving on to a different activity. It helps your child understand the rhythm of sensory play and prepares them for the next session.
I’ve noticed that this phase can be frustrating for parents who are eager for their child to stay engaged. But I’ve learned that it’s not about forcing engagement — it’s about respecting your child’s natural flow and rhythm.
Related: Budget sensory play troubleshooting phases
The Fifth Shift: The Long-Term Adaptation
As your child grows, their sensory preferences change. What worked when they were two may not work when they’re four. I’ve found that the fifth shift is when I have to adapt my sensory bins to match their evolving needs. This phase is ongoing and requires flexibility and a willingness to try new things.
For example, my daughter was once a fan of soft, squishy textures, but now she prefers things that are more structured and interactive. It’s not about what I want — it’s about what works for her. This phase is all about staying in tune with your child’s needs and being open to change.
I’ve learned that this phase is part of the journey. It’s not about perfection — it’s about consistency and understanding. By adapting as needed, I’ve been able to keep my child engaged and excited about sensory play for years.
🧸 Gentle Sensory Play
A low-stimulation, slow-paced approach ideal for sensitive or shy children who need time to explore at their own pace.
⚡ Fast-Track Sensory Play
A high-energy, quick approach for kids who thrive on movement and immediate engagement — great for short attention spans.
✈️ Travel/Away-from-Home Sensory Play
A no-fuss, portable approach with lightweight, easy-to-clean materials — perfect for on-the-go exploration.
👶 Multiples Sensory Play
A shared, interactive approach designed for siblings or multiple children — perfect for encouraging teamwork and social skills.
🔄 Regression Reset Sensory Play
A structured, repeatable approach for children who are going through developmental changes or need to re-engage with sensory play.
| The mistake | Why it happens | The fix |
|---|---|---|
| Using too many materials at once | Overstimulation can cause your child to withdraw or become overwhelmed. | Start with one or two materials and gradually introduce more as your child becomes comfortable. |
| Forcing interaction | Forcing your child to engage can create a negative association with sensory play. | Let your child explore on their own. Offer the materials and let them take the lead. |
| Not cleaning materials properly | Unclean materials can pose a health risk and deter your child from wanting to play again. | Wash and sanitize all materials after each use. Use wipes or gentle soap as needed. |
| Ignoring your child’s signals | Your child’s reactions can provide valuable clues about what they need or don’t need from the sensory activity. | Pay close attention to their body language and tone. If they seem distressed or disinterested, pause and reassess. |
Related: Sensory play troubleshooting printable
Diy Sensory Play Troubleshooting Phases
Related: Sensory play troubleshooting that actually work
The Sixth Shift: The Unexpected Creativity Spark
I remember one afternoon when my toddler knocked over a bin of rice and beans, creating a spontaneous mess that turned into an impromptu sorting game. Instead of stopping him, I joined in, and we spent the next hour categorizing by color and texture. This shift showed me that sometimes, the most unexpected moments lead to the deepest learning. The key is to stay present and allow the child to take the lead, even if it means letting go of the original plan.
This phase often happens during transitions, like after a meal or when a child is transitioning from one activity to another. The brain is in a relaxed state, making it more open to new experiences. I've noticed this shift most frequently when I allow my child to explore without structure, like letting them choose what to play with first. This kind of flexibility can lead to breakthroughs in creativity and problem-solving.
I've also found that introducing a new material during this phase can ignite unexpected interest. For example, adding a few tablespoons of glitter to a sensory bin transformed a simple activity into an hours-long fascination. It's not always about the material itself, but the way it interacts with the child's current mood and energy level. These moments are gold, and they remind me that sometimes, the best learning happens when we let go of our expectations and embrace the mess.
Common Questions
How do I know if my child is ready for sensory play?
What should I do if my child avoids the sensory bin?
How often should I do sensory play?
Can I reuse the same sensory bin materials?
References
- Enhancing Mathematical Skills of Learners in the Early Childhood ... (files.eric.ed.gov)
Cite this guide
PlayMessy (2026). Diy Sensory Play Troubleshooting Phases. https://playmessy.com/diy-sensory-play-troubleshooting-phases/
Feel free to cite or share this guide.