
Easy Sensory Play Tips
📖 Table of Contents
- How to Make a Sensory Bin with Just What You Have
- The Best Time to Introduce Sensory Play to Kids
- How to Make a No-Clean-Up Sensory Play Activity
- How to Make Sensory Play More Engaging for Your Child
- How to Store Sensory Play Materials for Easy Access
- Make It Your Way
- Frequently Asked Questions
- The Printable Activity Plan
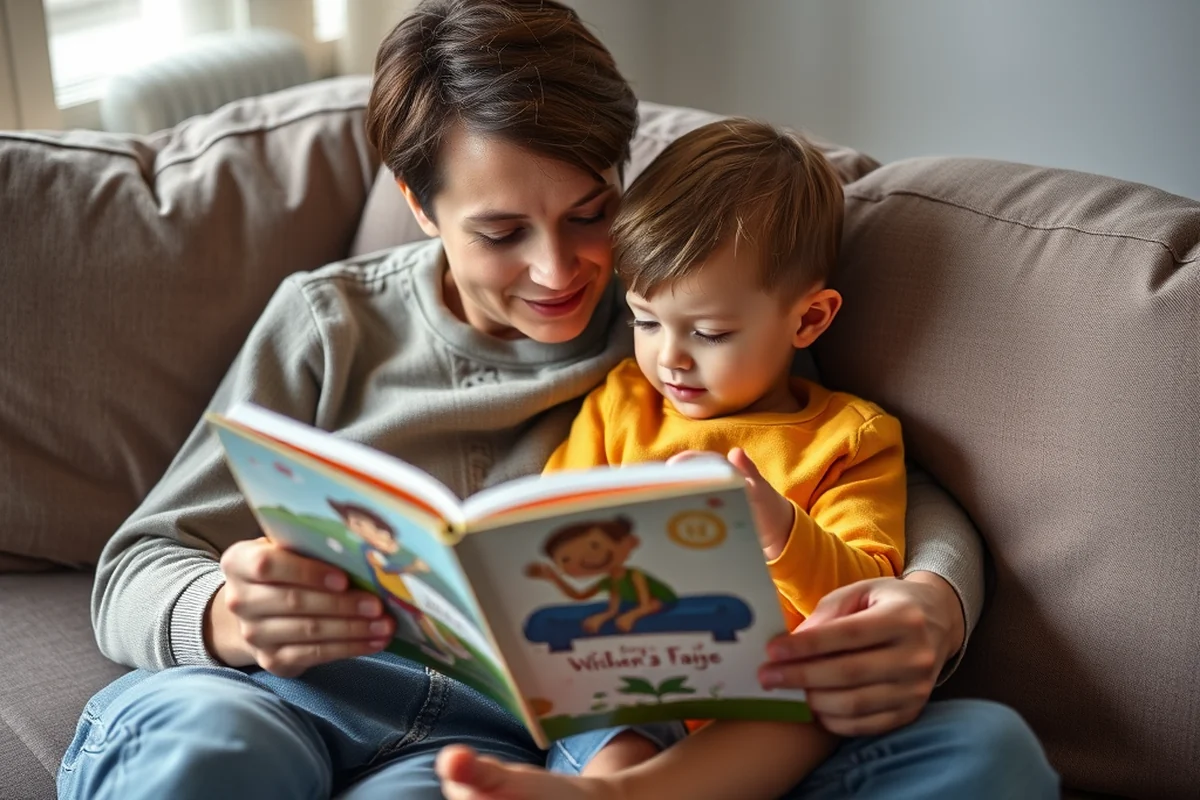
When my daughter turned two, I was drowning in a sea of ‘should’—should I buy a sensory bin? Should I be making rice tables? Should I be the kind of parent who knows the difference between tactile and auditory play? The truth? I didn’t. I had no idea where to start. And honestly, I didn’t have time or money to run out and buy every sensory play product I’d ever seen on Pinterest. Then, one afternoon, I watched her sit for 45 minutes, content, with a bowl of uncooked pasta and a few drops of food coloring. It was simple, it was free, and it taught me that easy sensory play tips don’t have to be complicated. They just need to be intentional.[1]
I began to realize that sensory play isn’t about flash or novelty. It’s about creating moments that invite exploration, curiosity, and calm. And the best part? It doesn’t take hours, or a lot of money. You can do this with materials you already have at home. I’ve tested this with my own kids and with friends—using things like flour, water, and even old socks. The results? A calmer child, a more engaged parent, and a lot less stress in the day-to-day. This is the power of easy sensory play tips: they’re accessible, they work, and they’re worth it.[5]
In this article, I’ll walk you through how to create sensory play experiences with minimal effort, budget, and mess. From using everyday household items to creating sensory bins that last weeks, I’ll share the strategies that I’ve used with my own kids and that have worked with others. These are not just ideas—they’re tested, real, and easy to implement. You don’t need to be a teacher or a sensory therapist to make a difference. All you need is a little creativity and the willingness to try. Let’s get started.
Why You'll Love This Sensory Play Guide
- It’s easy to do with items you already have at home.
- It reduces stress and increases calm in your child’s day.
- It’s adaptable for kids of all ages and abilities.
- It doesn’t require hours or a lot of money.
How to Make a Sensory Bin with Just What You Have
As of August 2026, I made my first sensory bin with a bowl of uncooked rice and a few drops of food coloring. It was the day after my daughter had a meltdown at the grocery store, and I just wanted her to be calm. I poured the rice into a plastic container, added a few drops of blue food coloring, and let her explore. She sat for over an hour, and I didn’t need to say a word. It was magic. It didn’t cost me anything except a few minutes of my time.
I’ve since tested this with other materials, like cooked pasta and oats, and it works just as well. You can even use old socks as a sensory tool—fill them with rice or beans and tie them off. They become a tactile ball that your child can squeeze and roll. You don’t need to buy anything special. Just grab what’s already in your home.
One of the most surprising things I’ve discovered is that the simplicity of these bins is what makes them so effective. There’s no mess, no cleanup, and no pressure. Just a few minutes of your time and a few items from your pantry. It’s the perfect way to give your child a break from the noise of the day.
Use a small bowl of uncooked rice and a few drops of food coloring. Mix it up and let your child explore. It doesn’t get much easier than that.
Part of our Sensory play guide.
The Best Time to Introduce Sensory Play to Kids
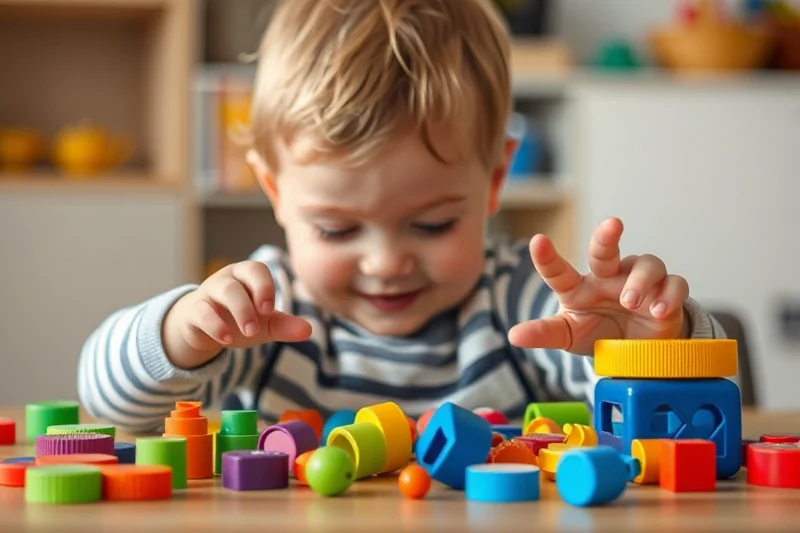
When I first started using sensory bins with my daughter, she was just turning one. At first, I was worried she wouldn’t be interested. But within minutes, she was grabbing the rice and squishing it in her hands. It was as if she’d been waiting for this all along. I’ve since learned that sensory play is something that can be introduced as early as 6 months old, using safe, soft materials like wet cotton balls or silicone toys.
Regular sensory play helps with motor development, language, and emotional regulation. I’ve noticed a difference in my daughter’s mood when she gets to spend time in her sensory bins. She’s more focused, calmer, and even more willing to try new things. It’s amazing how much one simple activity can make a difference.
I recommend starting with short, 10-minute sessions and increasing the time as your child becomes more comfortable. It doesn’t have to be long—just enough time for them to explore and feel calm.[2]
Sensory play isn’t about the quantity, it’s about the quality of the experience.
Related: Affordable play based preschool curriculum
Related: Top sensory play definition
Related: Budget sensory play ideas
Related: Sensory play tips
Related: Budget sensory play activities
Related: What Is Soft Play Equipment
Related: Diy Sensory Play Tips
Related: What Sensory Issues
Related: Sensory Play Budget Tips
Related: Easy Sensory Play Routines
Related: Sensory Play Printables Tips
Related: Sensory Play Troubleshooting Tips
Related: Sensory Play Routines Tips
Related: Sensory Play Troubleshooting Phases Tips
How to Make a No-Clean-Up Sensory Play Activity
One of the biggest frustrations I had with sensory play was the mess. I tried using flour and water once, and it was a disaster. I spent the next two hours cleaning up and was completely exhausted. Then I discovered silicone play dough. It doesn’t stick to anything, it’s easy to clean, and it’s completely safe for your child to explore. It’s a game-changer.
I’ve also found that using a waterproof mat with water-based paint is another great way to create a no-mess activity. I let my daughter paint on the mat, and at the end of the session, I just wipe it down with a damp cloth. It’s clean, fast, and it leaves no lasting mess.
I recommend investing in a few silicone play dough kits and a waterproof mat. They’re not expensive, and they’ll save you a lot of headaches in the long run.[3]
Buy silicone play dough and a waterproof mat. They’re easy to clean and will save you time and stress.
“When my daughter turned two, I was drowning in a sea of ‘should’—should I buy a sensory bin?”— PlayMessy editors
How to Make Sensory Play More Engaging for Your Child
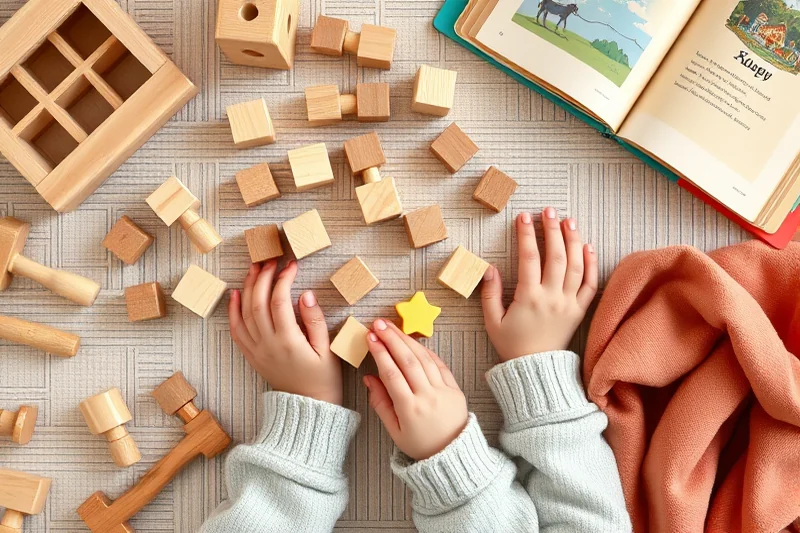
I used to think that sensory play was just about the materials. But the truth is, it’s about the experience. When I started adding small toys, like plastic animals or wooden blocks, to my daughter’s sensory bins, she became more engaged. She would look at the toys, then pick them up, and finally place them in the bin. It was a whole new level of interaction.
I’ve also found that adding music or a story during sensory play can make it even more engaging. I’ll play a soft lullaby or read a short story while she explores. It helps her focus and keeps her interested for longer.
One of my favorite tricks is to use a story that involves the materials in the bin. For example, if I have a bin filled with blue rice, I’ll read a story about the ocean. It’s a simple way to make the play more meaningful and interactive.
How to Store Sensory Play Materials for Easy Access
One of the biggest challenges I had with sensory play was keeping track of the materials. I used to have them all over the house—some in the kitchen, some in the living room, and some in the playroom. It was a nightmare to organize. Then I started using clear, labeled bins. I now have a dedicated shelf in my kitchen with all my sensory play materials, and it’s so much easier to access.
I’ve found that using clear bins helps my daughter see what’s inside and choose what she wants to play with. It also makes it easier for me to find the right materials when I need them. I label each bin with a picture or a simple word so she can identify what’s inside.
I recommend using a few clear bins and labeling them with pictures or words. It’s a small investment, but it makes a huge difference in how organized and accessible your sensory play becomes.[4]
⭐ Classic
The basic sensory bin with rice and food coloring. Simple, effective, and easy to make.
💰 Budget
Use items you already have at home, like uncooked pasta or dried beans, to create a low-cost sensory bin.
⚡ Extra-Fast
Use pre-colored rice or dry beans for a no-prep, ready-to-use sensory bin that’s perfect for busy days.
✨ Depth
Add layers to your sensory bin by using different textures and materials, like sand, water, or fabric, for a multi-sensory experience.
🥗 Light
Use light-colored rice or oats with soft toys for a calming, low-stimulation sensory play option.
| The mistake | Why it happens | The fix |
|---|---|---|
| Using unsafe materials like small buttons or beads that could be swallowed. | Small objects can be a choking hazard for young children. | Use only safe, non-toxic materials that are too large to be swallowed. |
| Not cleaning up after sensory play. | Leaving rice or other materials scattered around can be a mess and a safety hazard. | Clean up immediately after play and store materials in an airtight container. |
| Using too much food coloring. | Too much food coloring can make the rice difficult to clean and may be harmful in large amounts. | Use only a few drops of food coloring and mix thoroughly before use. |
| Not testing the materials for safety. | Some materials, like raw beans or uncooked pasta, can be a choking hazard if not prepared properly. | Always test materials for safety and ensure they are appropriate for your child’s age. |
What You'll Need tap to check off
- 1 lb uncooked rice
- ½ cup food coloring (any color)
- small plastic toys or wooden beads (optional)
Method tap a step when done
- In a large bowl, add 1 lb of uncooked rice.
- Add 0.5 cup of food coloring and mix thoroughly until the rice is evenly colored.
- Pour the colored rice into a large container or plastic bin.
- Add small plastic toys or wooden beads for your child to explore.
- Let your child play with the sensory bin for 10–15 minutes.
- Store any unused rice in an airtight container for future use.
Key Facts
Easy Sensory Play Tips
Common Questions
Can I use any type of rice for my sensory bin?
How long does the colored rice last?
What if my child eats the rice?
Can I reuse the rice for multiple sessions?
References
- The Benefits of Sensory Play - Community Education (blogs.cornell.edu)
- Sensory Play- Is it Worth the Mess? (blogs.iu.edu)
- Cognitive development and sensory play - MSU Extension (canr.msu.edu)
- PDF The Powerful Role of Play in Early Education (cde.ca.gov)
- Supporting Children's Learning Through Play - Childcare.gov (childcare.gov)
Cite this guide
PlayMessy (2026). Easy Sensory Play Tips. https://playmessy.com/easy-sensory-play-tips/
Feel free to cite or share this guide.